Fingerless Mitten Knit-Along Part TwoWelcome back to the blog! Today we will be looking at how to do the basic stitches needed for the mitten. As you may remember, you had casted on your stitches and split them between the needles. For today, you will need to start by holding needles as shown below (or the opposite way if you are left-handed), with the yarn that is attached to the ball on the bottom needle. 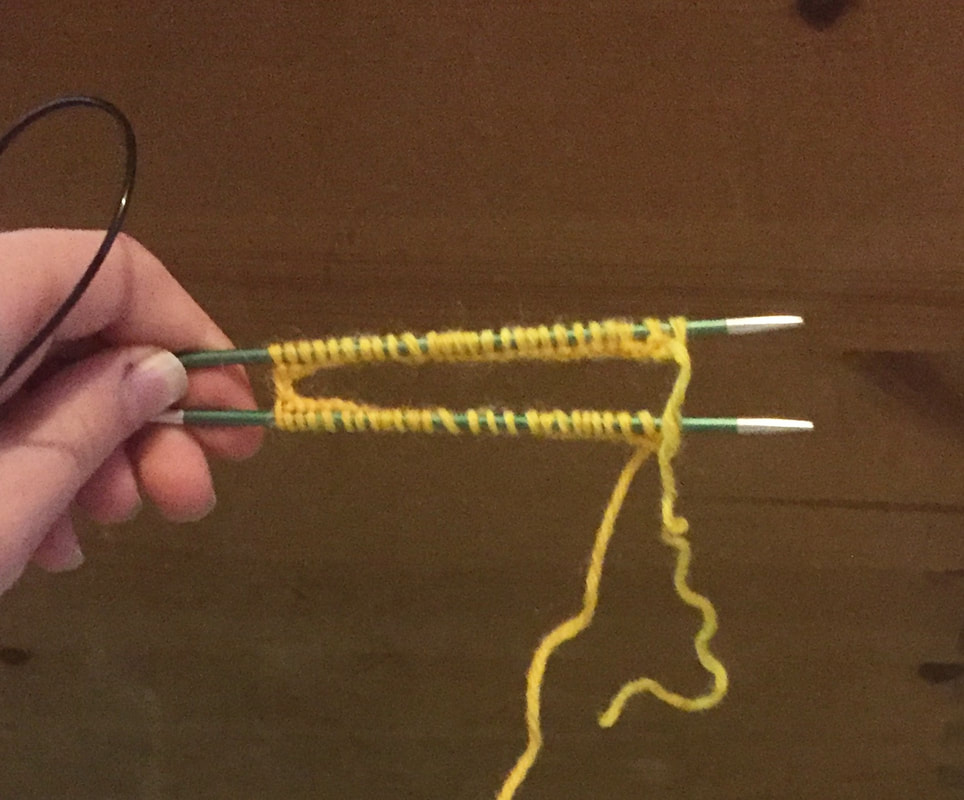 Then you need to pull the bottom needle so that the stitches go onto the cable but do not join with the stitches on the other side of the needle. 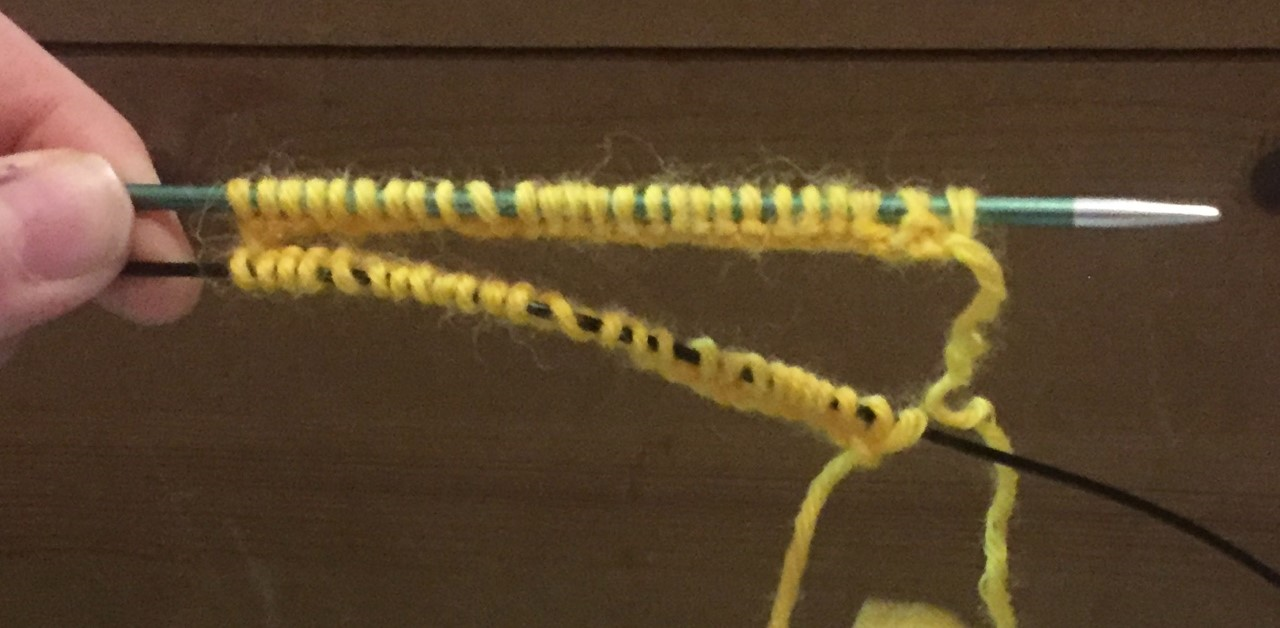 Now you are ready to start knitting! Firstly, we will look at a type of stitch pattern known as rib. RibRib consist of two main stitches, knit and purl, which are alternated across the row. The knit stitch is similar to casting on; you put the needle on the right into the back of the stitch on the left, then form a loop around the back needle and pull the stitch through it (for a more detailed description, see the blog entry for 31.03.2020). 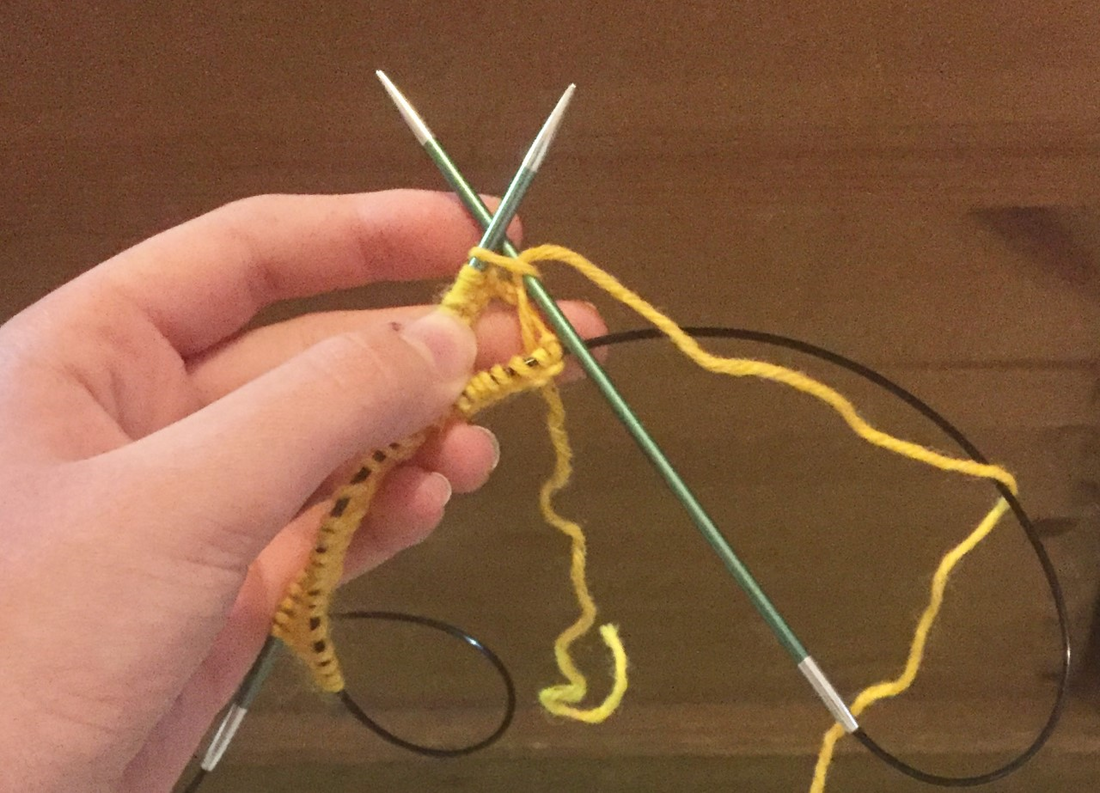 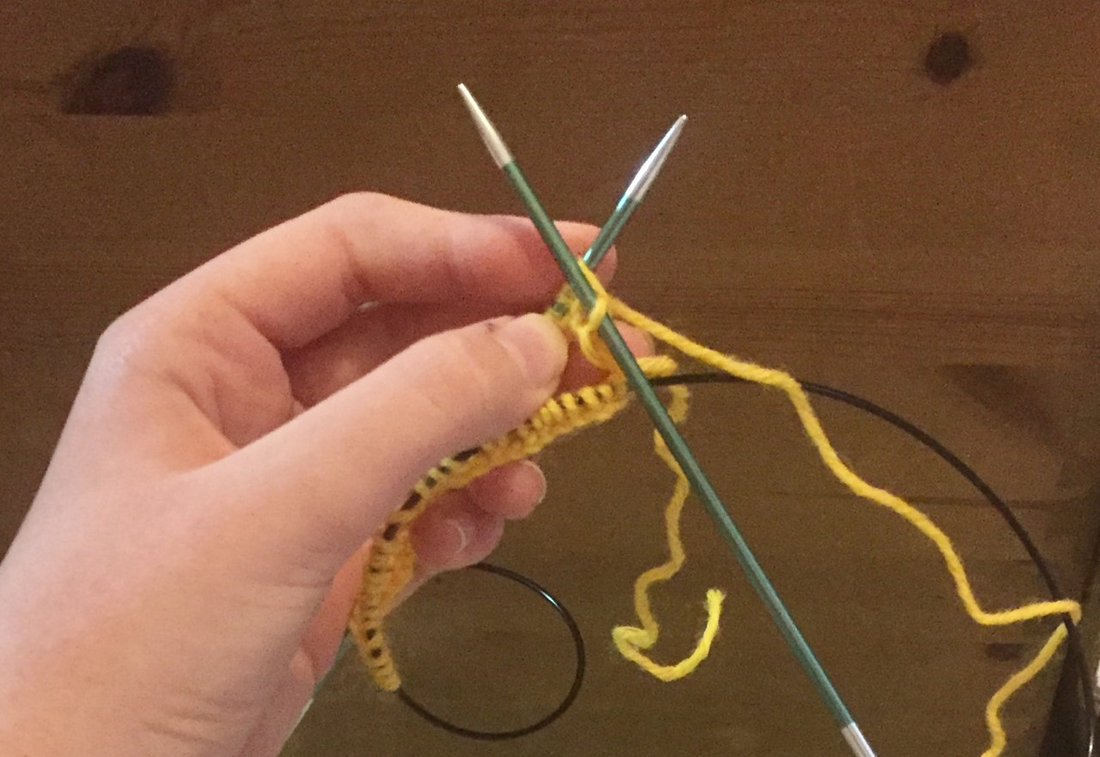 However, instead of putting what is on the top needle onto the bottom needles, you slip the stitch that you put the needle into off of the left needle and tighten it by pulling the yarn that is attached to the ball and the stitch 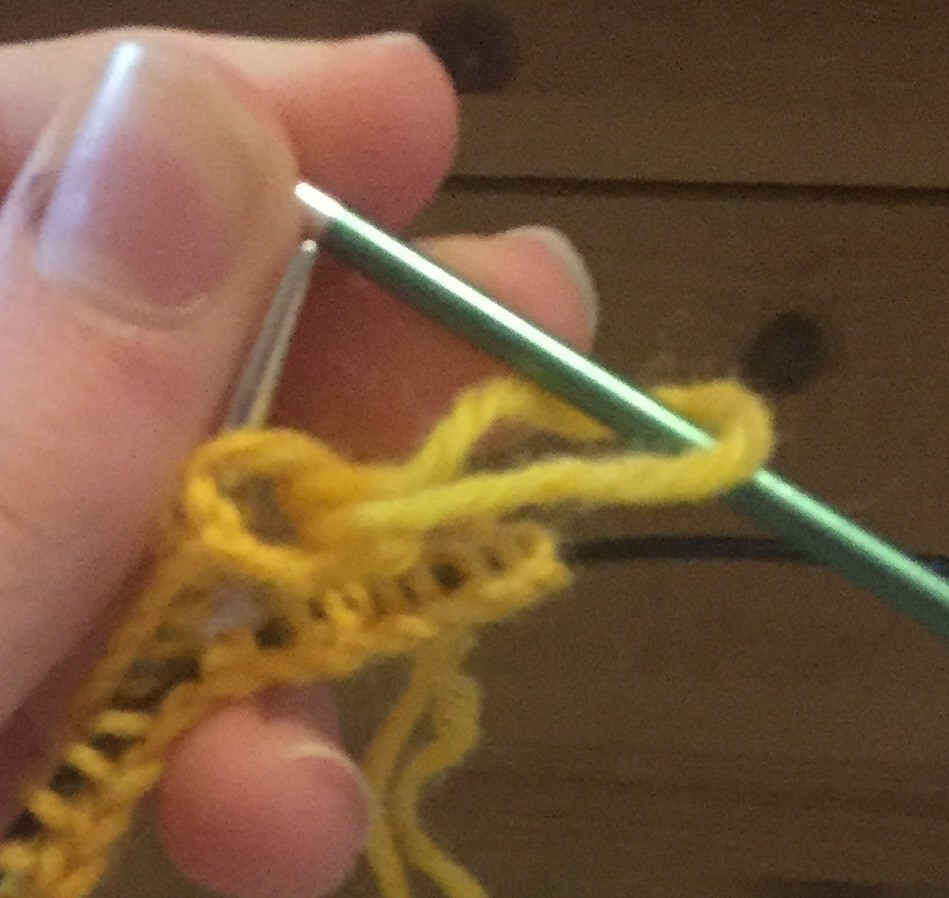 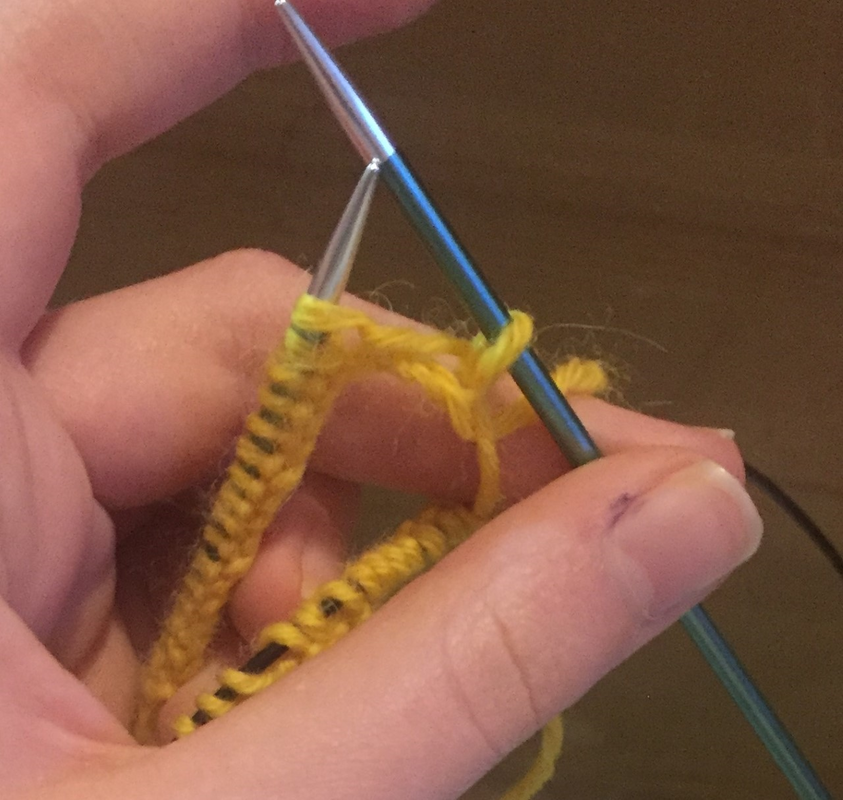 The purl stitch, on the other hand, is slightly different. When you do a knit stitch, you start with the yarn at the back; however, for purl, you need to start with the yarn at the front. 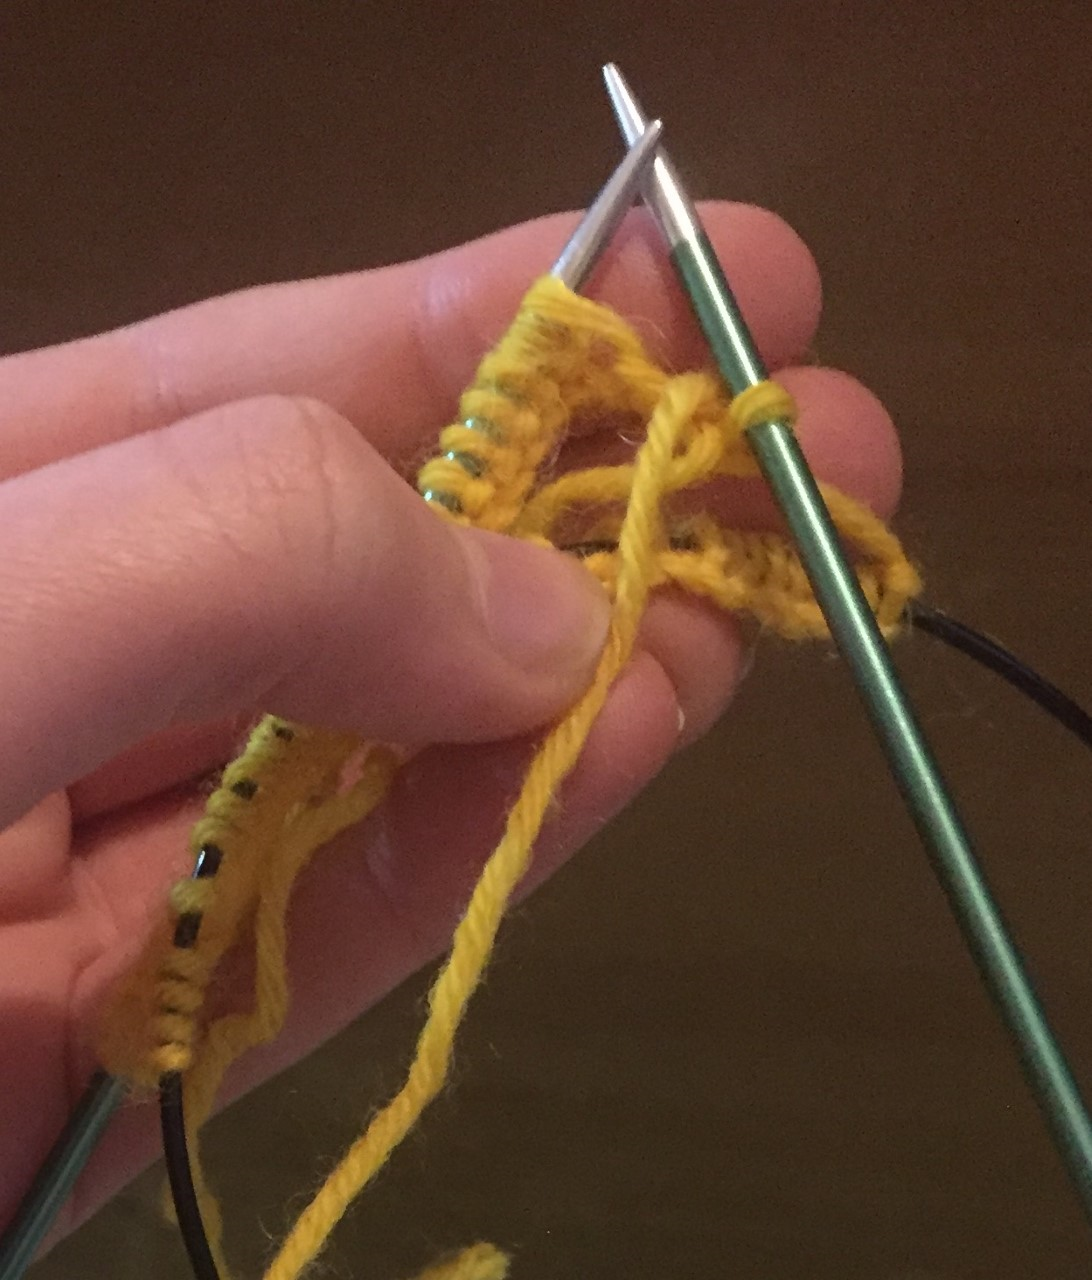 Then, when you put the right needle into the stitch, you put it into the front instead of the back. 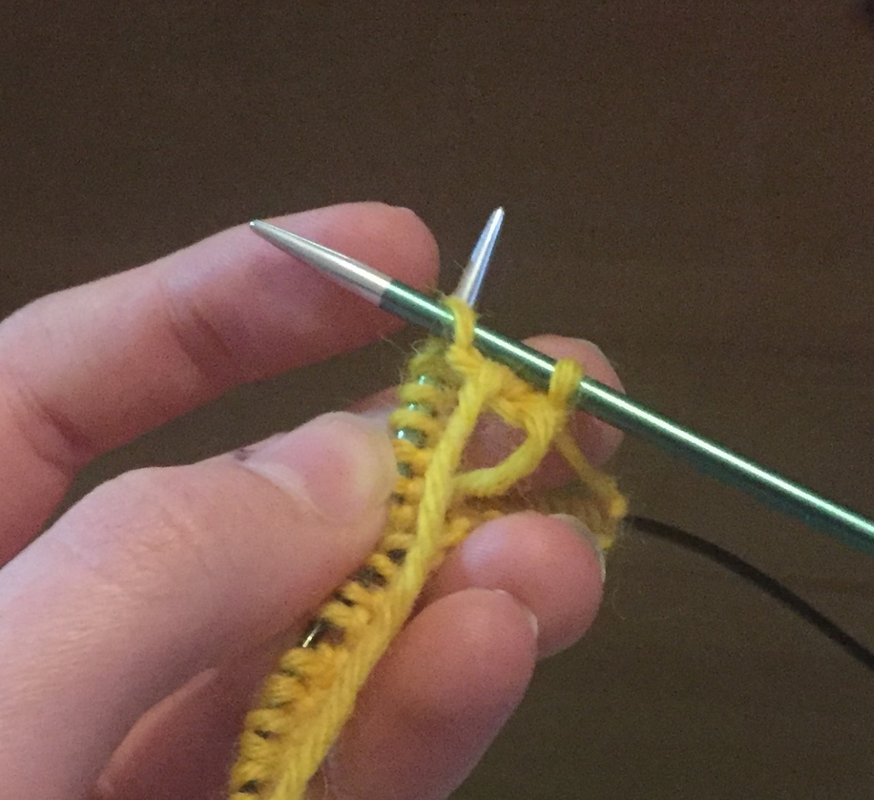 Then, as with the knit stitch, you form a loop around the needle that you are knitting on to (which, when purling, is the top needle). 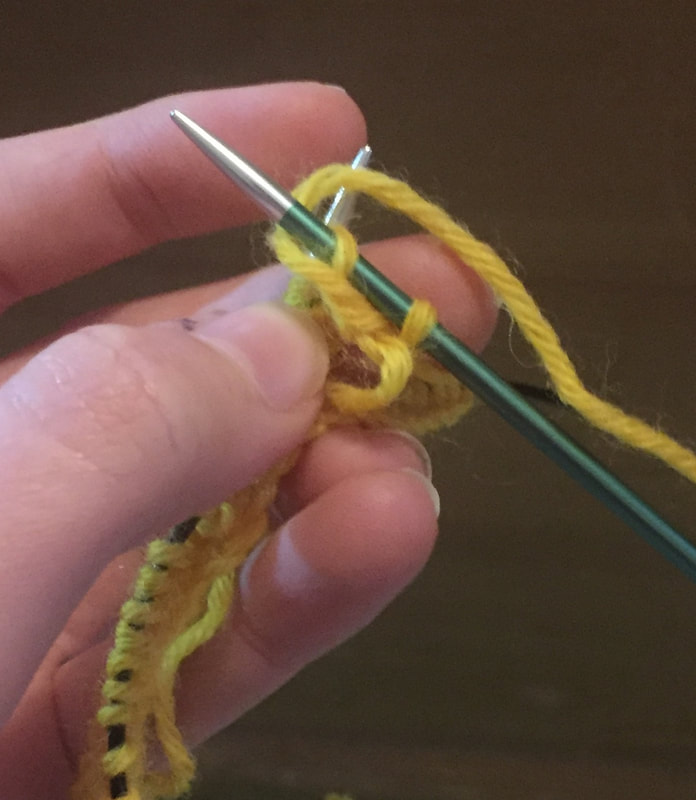 After this, as with the knit stitch, you pull the loop through the stitch and slide the original stitch that was on the left needle off before tightening the stitch if necessary. 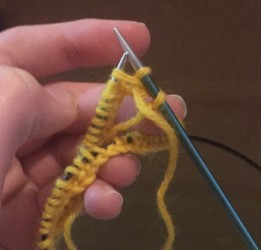 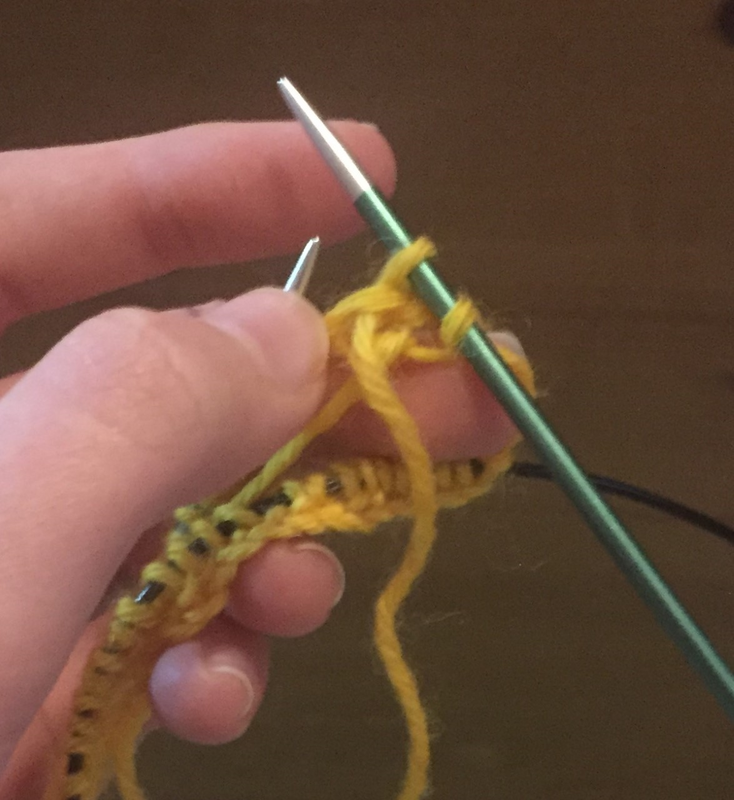 Now, repeat this alternating pattern of knits and purls until you have completed the row. The row should end on a purl and should look something like this (the line between the two sides is normal - so long as you tighten your stitches well this should disappear). 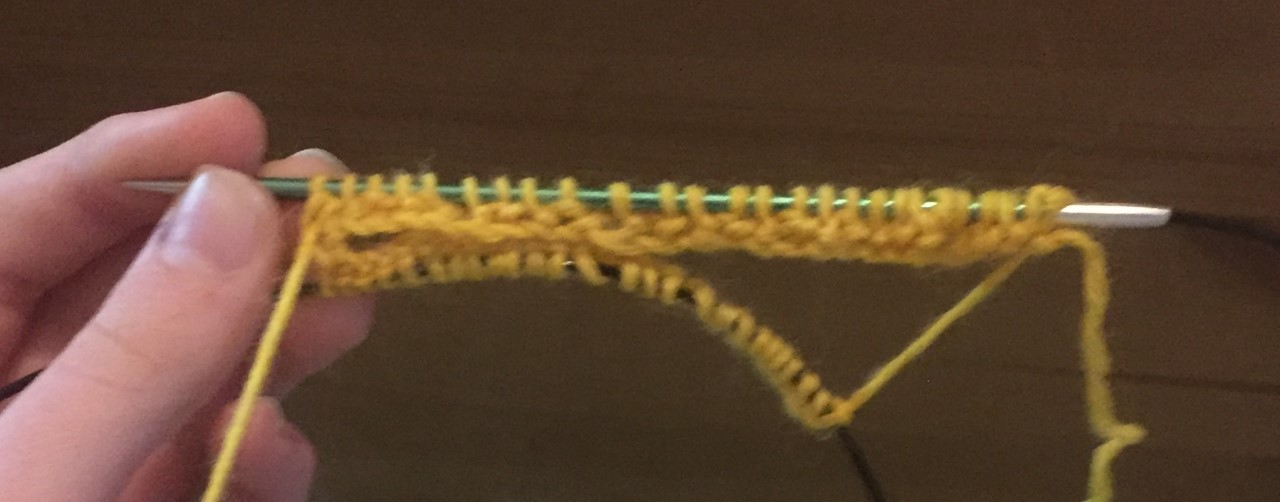 Well done! You have just completed half a round. Changing SidesThis part may seem complicated, but it actually is a lot simpler than it appears to be. First, you need to turn the knitting around so that the needles point in the direction that is your dominant side (i.e. if you are right handed, they should point to the right, or if you are left handed they should point to the left). After this, you slide the needles that are on the cable and have not been knitted on onto the needle and slide the other side onto the cable. 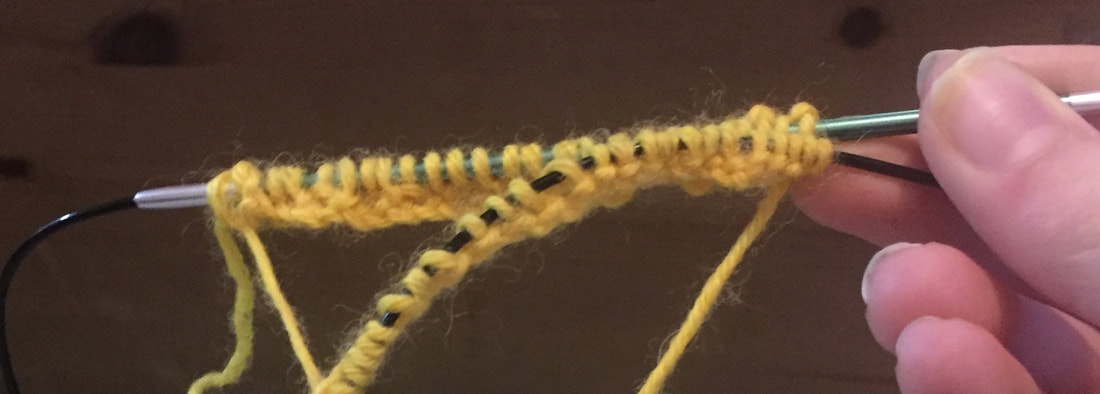 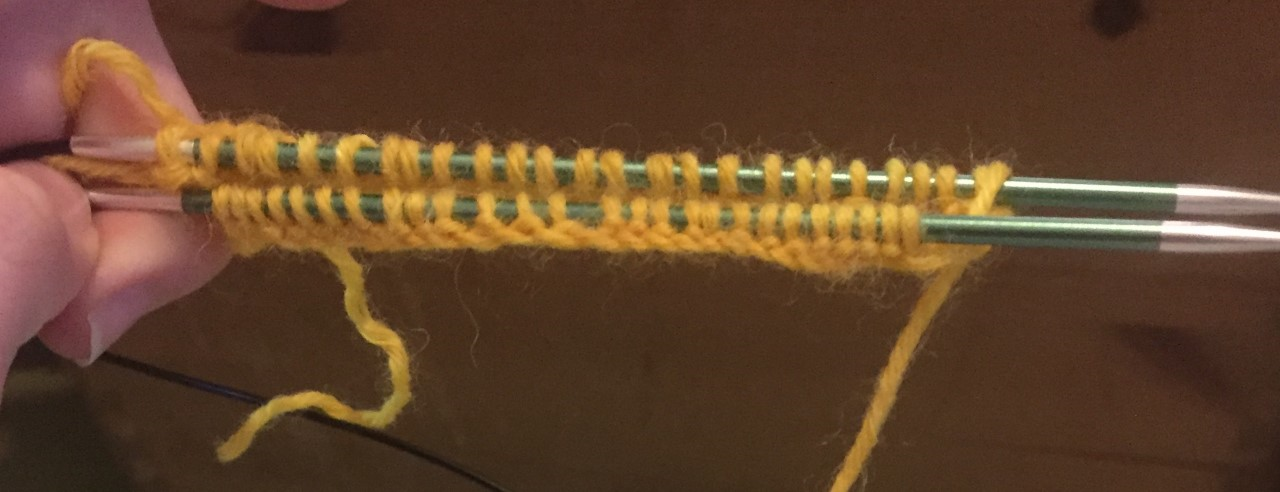 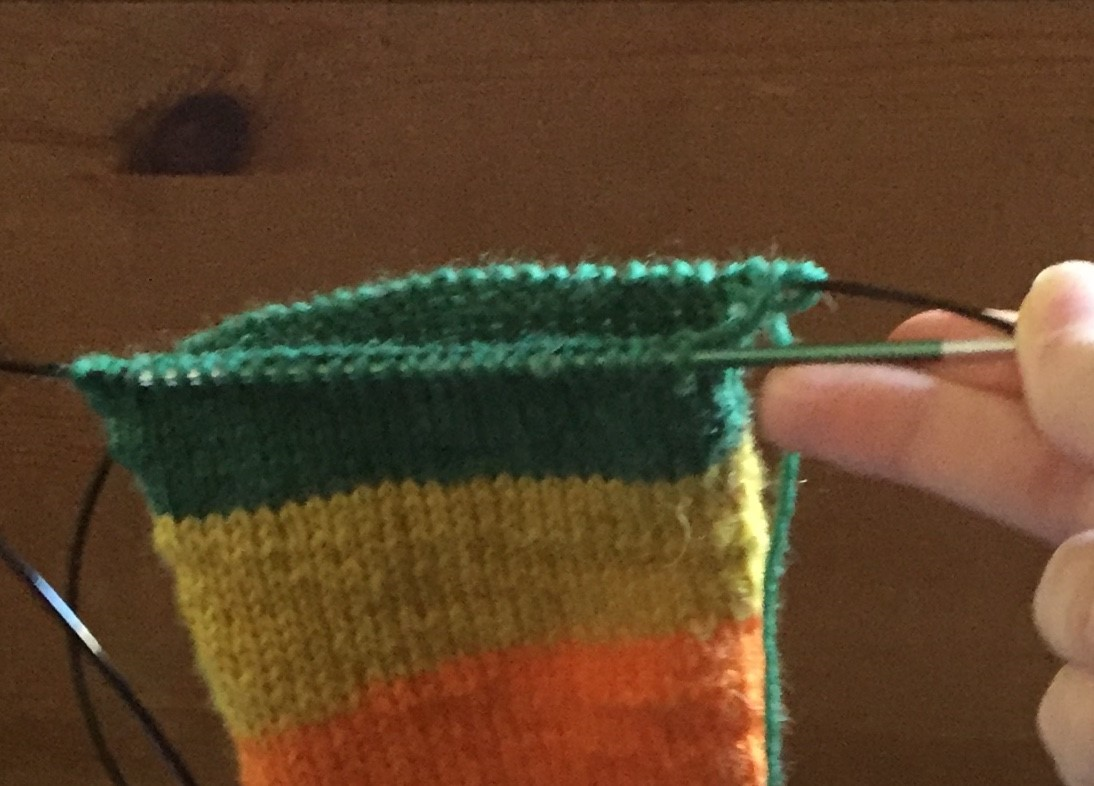 * I chose to take this photo further into the knit-along for clarity. On this side, repeat the rib pattern. Once you have done this, you have completed a round of rib. In total, you need to do ten rounds of rib. It should look something like this. 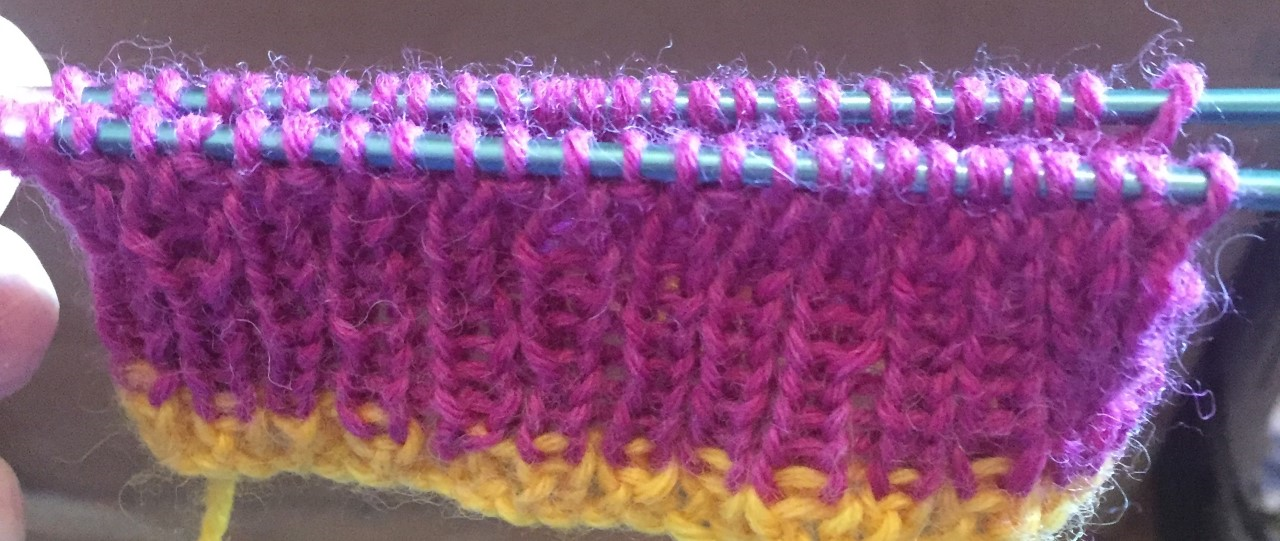 Stocking StitchAfter you have done this, you will be doing a type of stitch which is called stocking stitch, which is just knit stitches across the row. You can do as many rounds of this as you would like; however, I would not recommend any less than thirty rounds and it is also important to keep track of how many rounds you do so that you can make both gloves an equal length. Your stocking stitch should look something like this. 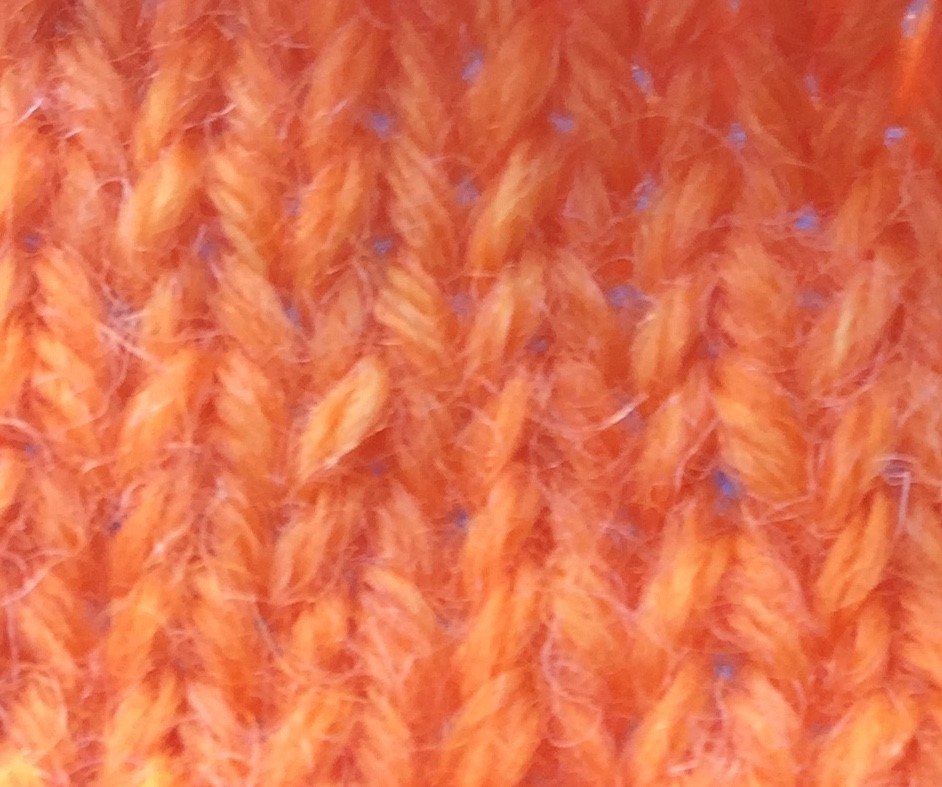 That's all for today. Hope you all are enjoying the knit-along, and for those who do not have circular needles at home, I will be doing a knit-along for you very soon!
Happy Knitting! Caiti
0 Comments
Leave a Reply. |
AuthorMy name is Sharon the Sheep, the owner of Avicraft Wool Shop in Bromley Kent.. Archives
February 2022
Categories |
 RSS Feed