Crochet: Basics and Tension SquaresHello and welcome back to the blog! Now, you may be thinking that the title of this post looks familiar; that's because I did something very similar just over a month ago on how to knit tension squares. Today, I will be looking at exactly the same, but for crochet (apologies if this is a little basic for any crocheters reading this!) and I will also be showing you some of the things that you do with tension squares instead of just undoing them or throwing them away. Step One: Setting UpAs I mentioned in my last post, the things you need for crochet are not that different to your knitting equipment, but here is a list of what you will need as a reminder:
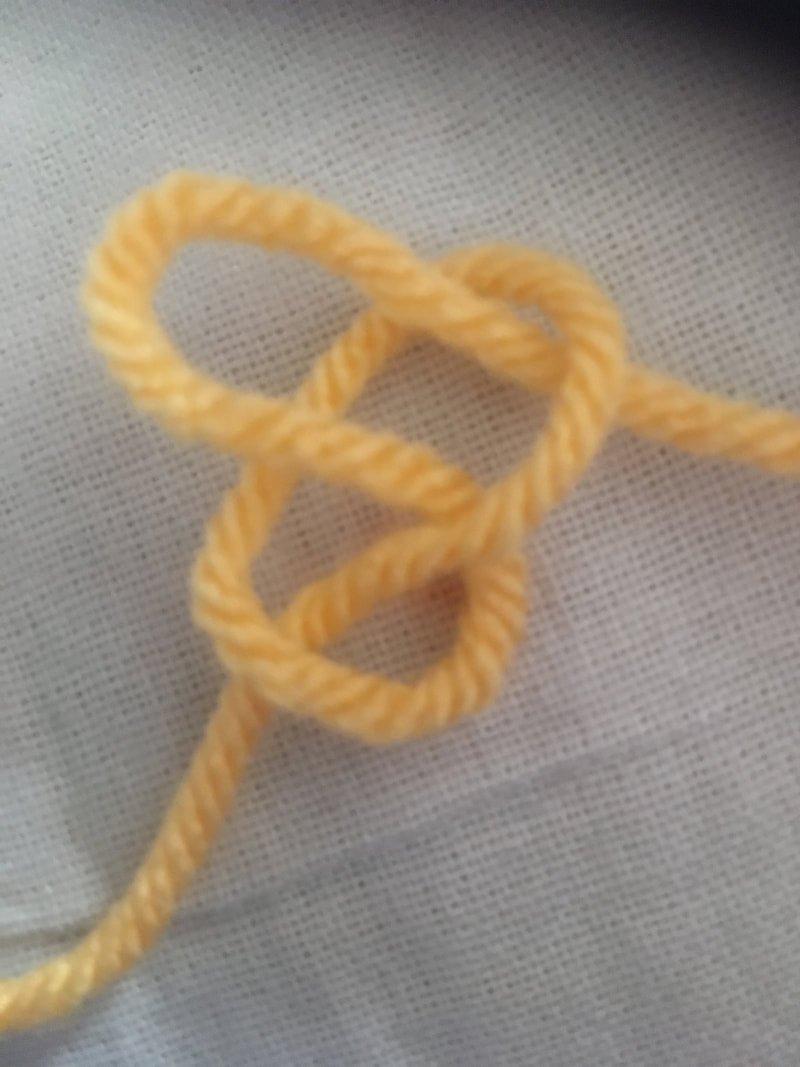
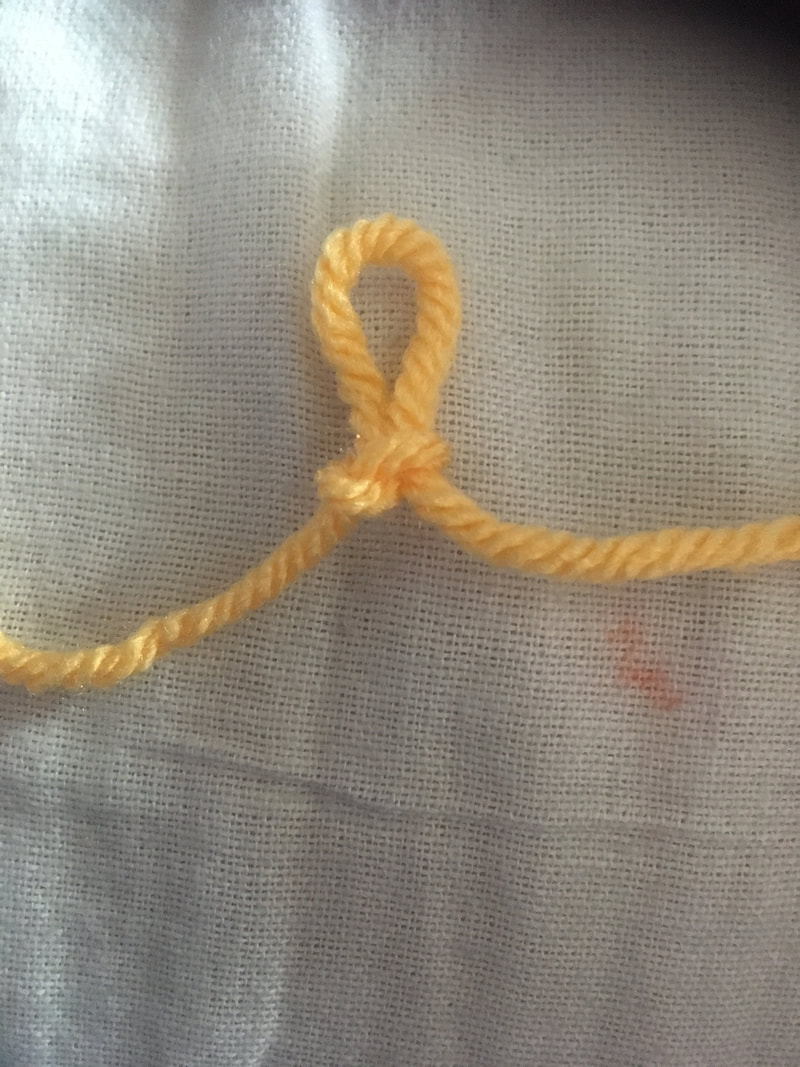
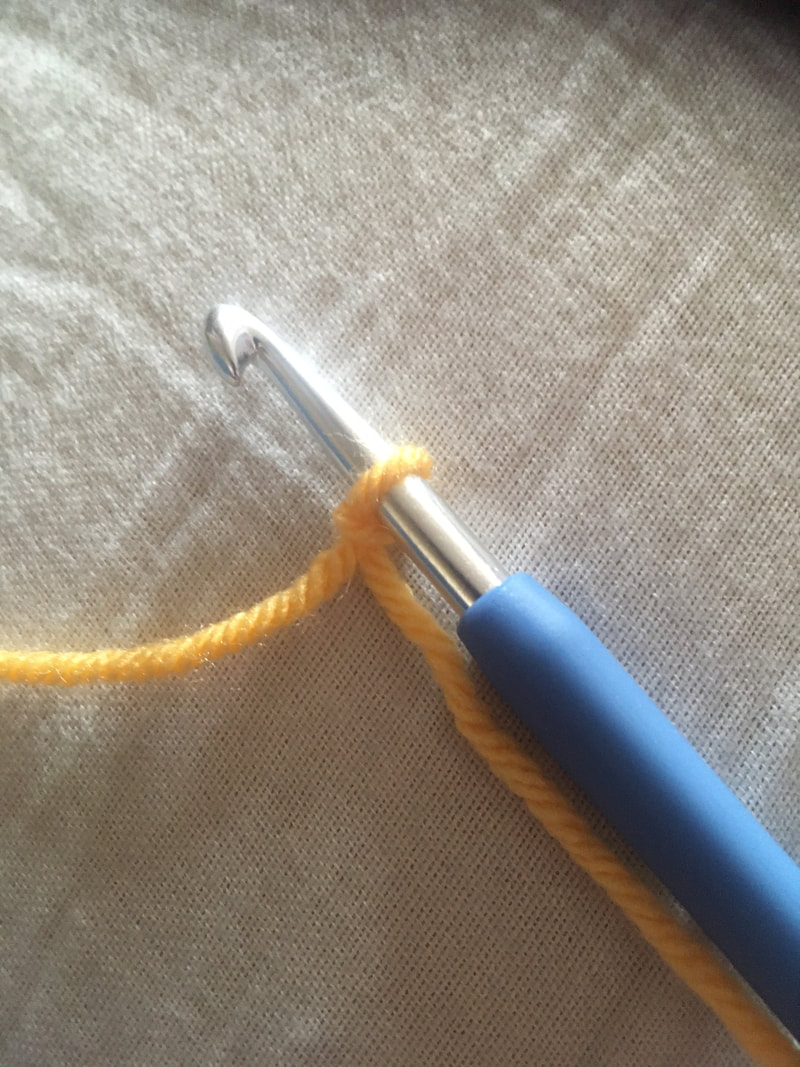
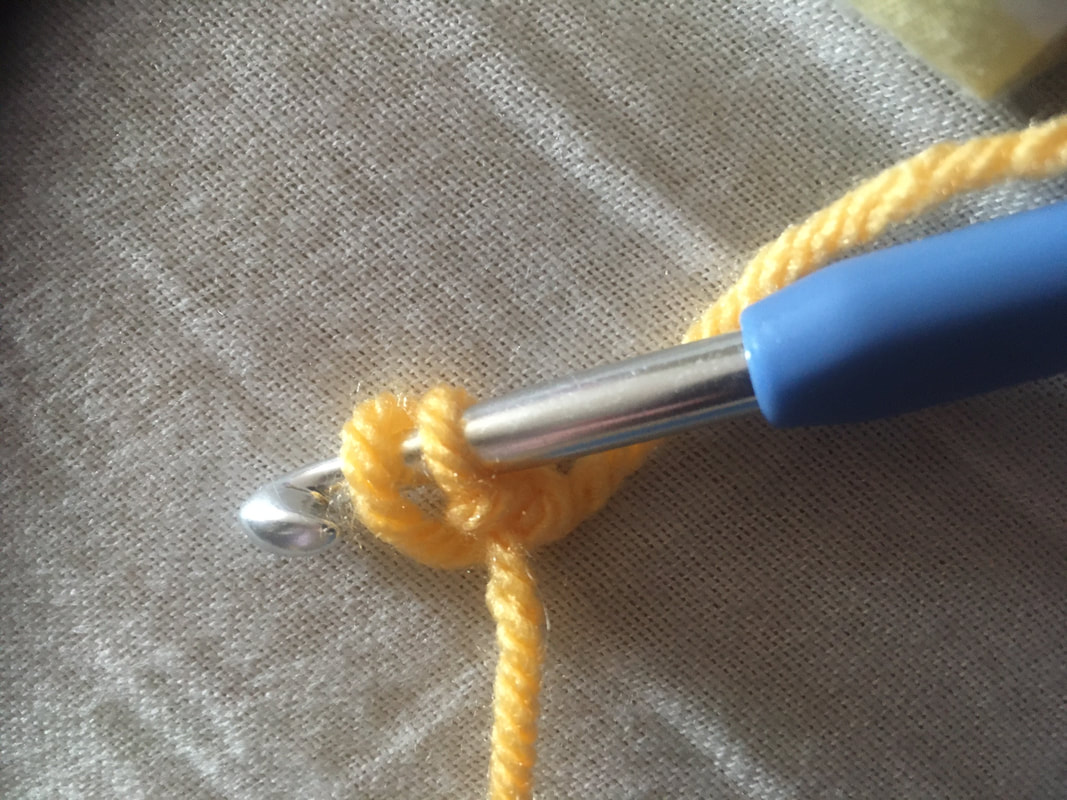
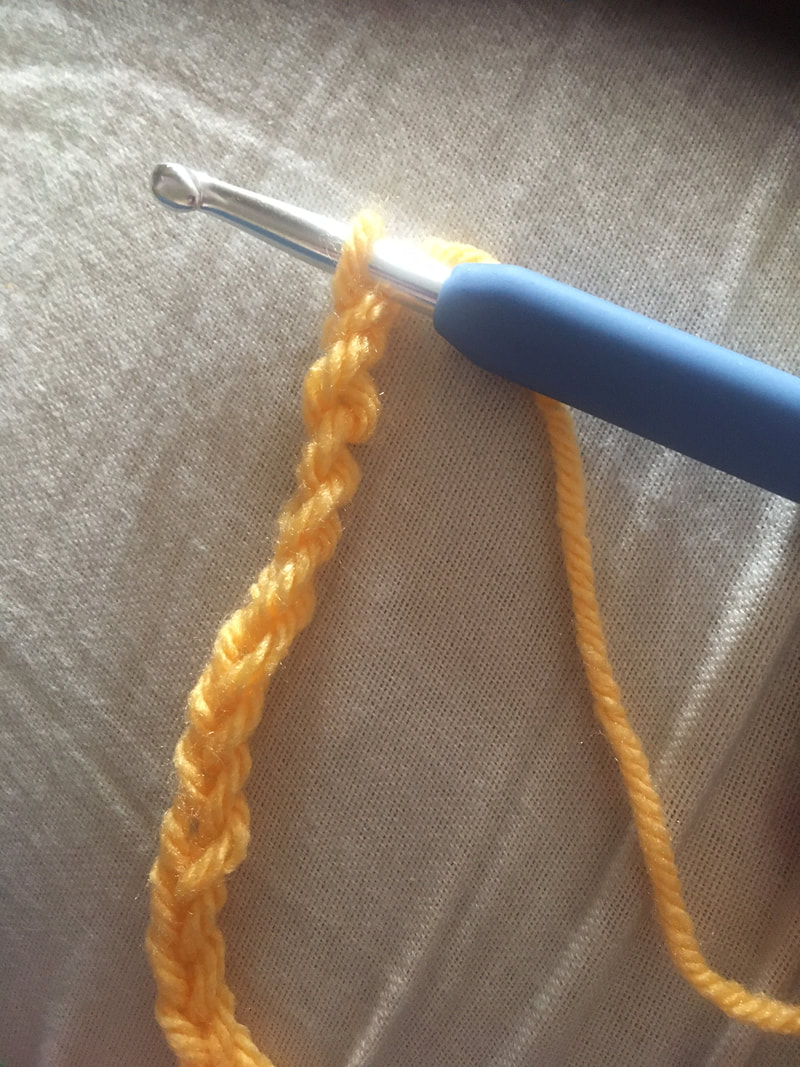
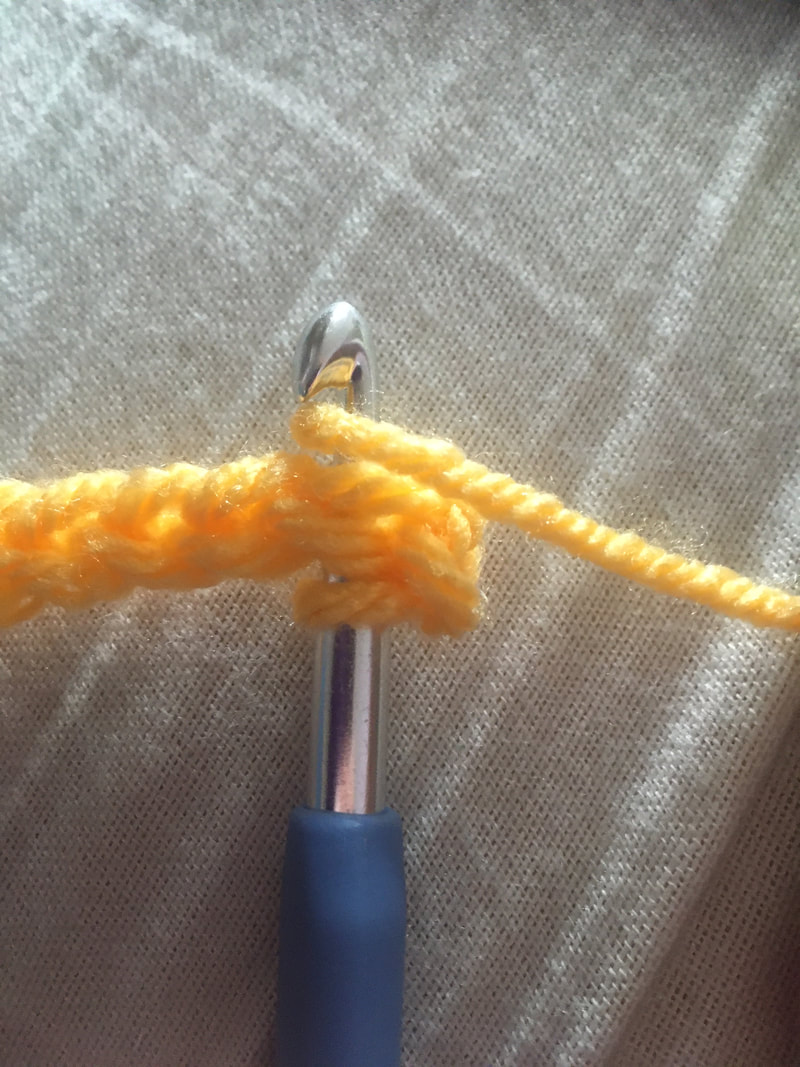
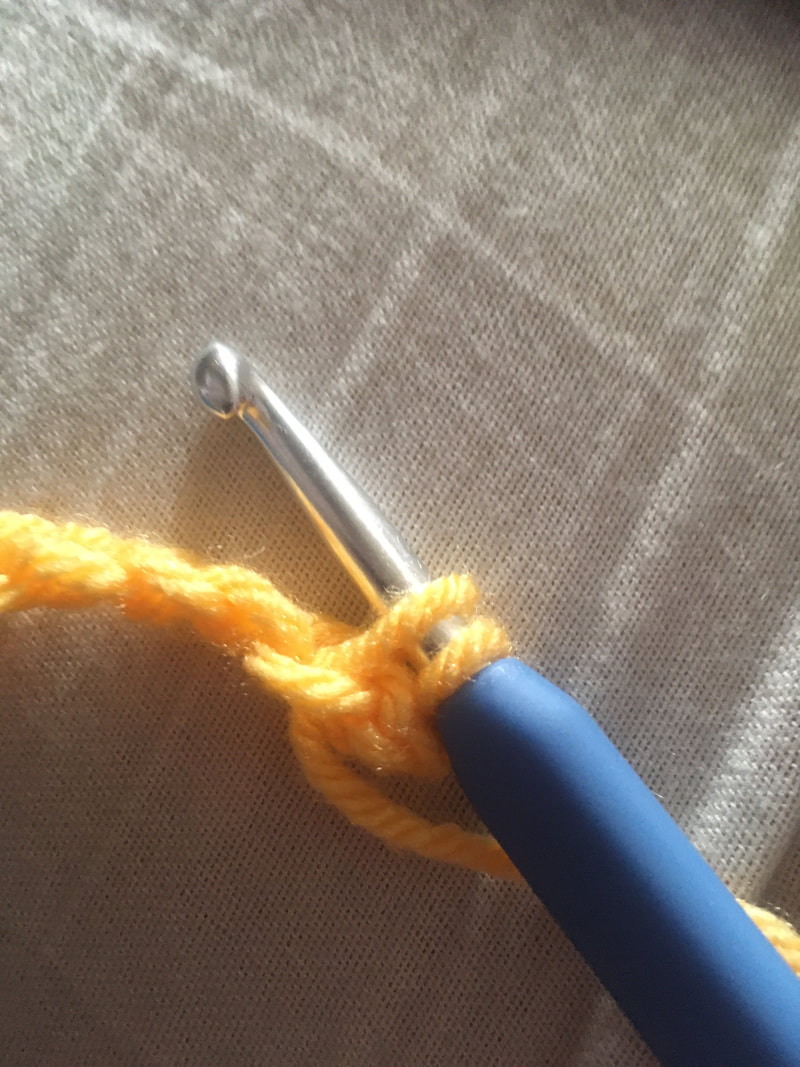
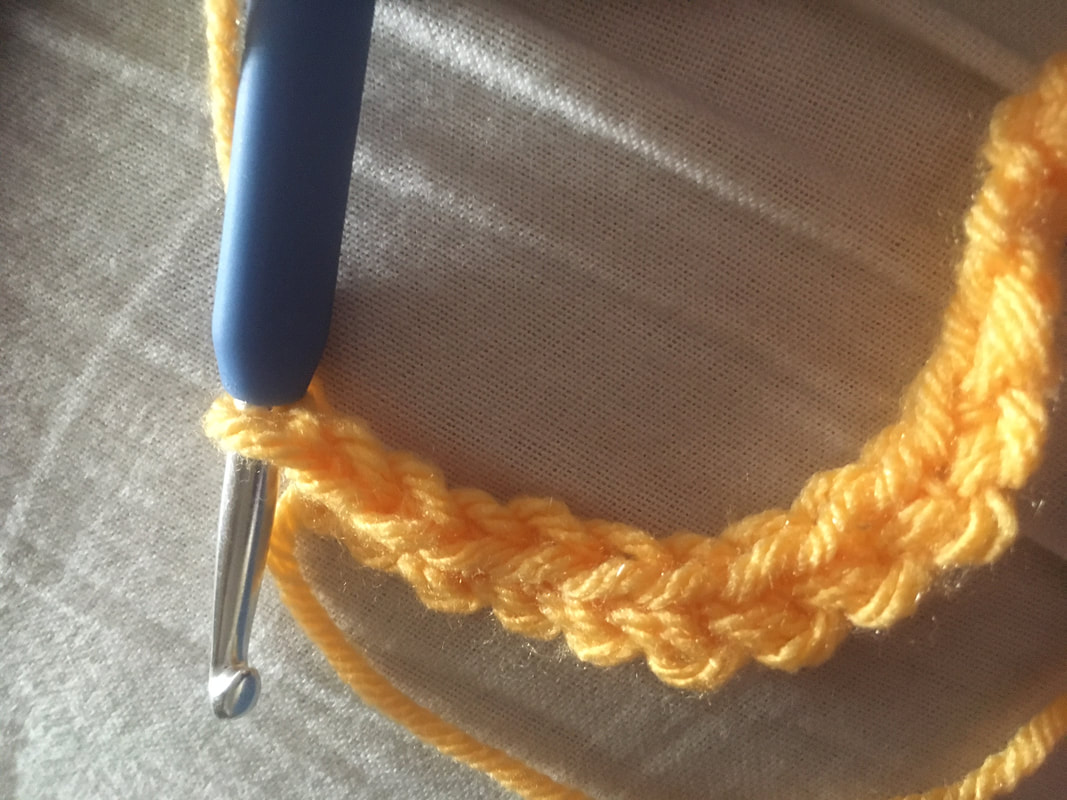
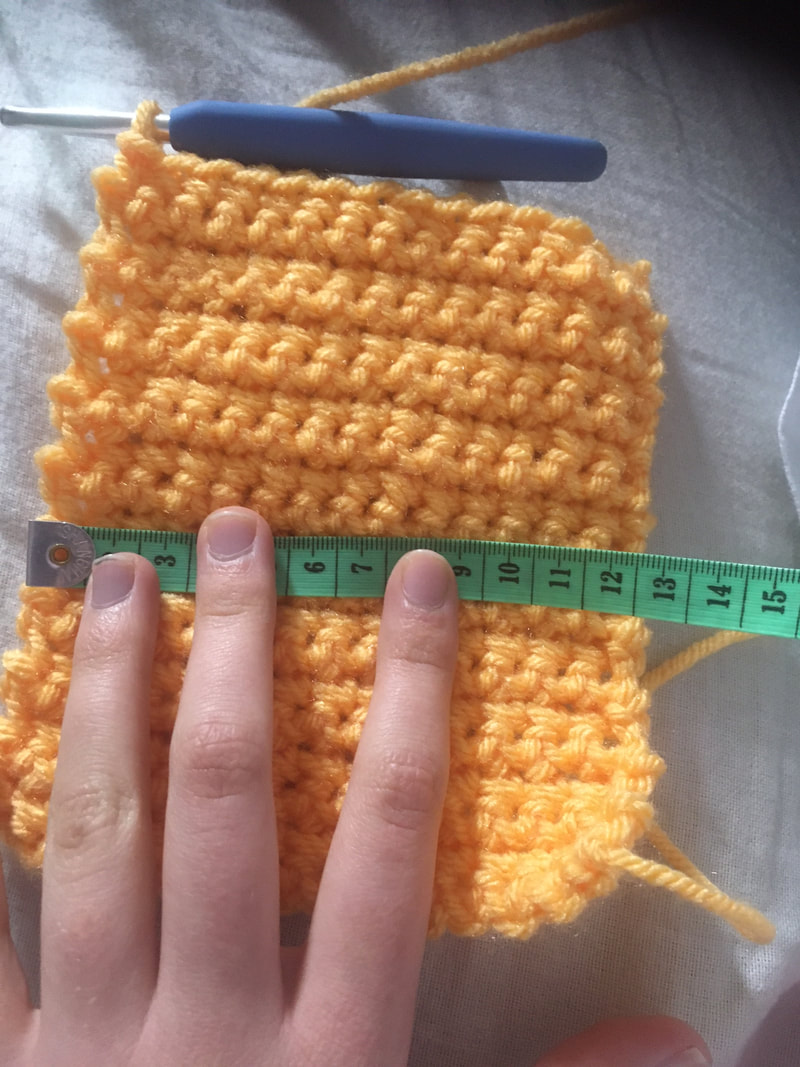
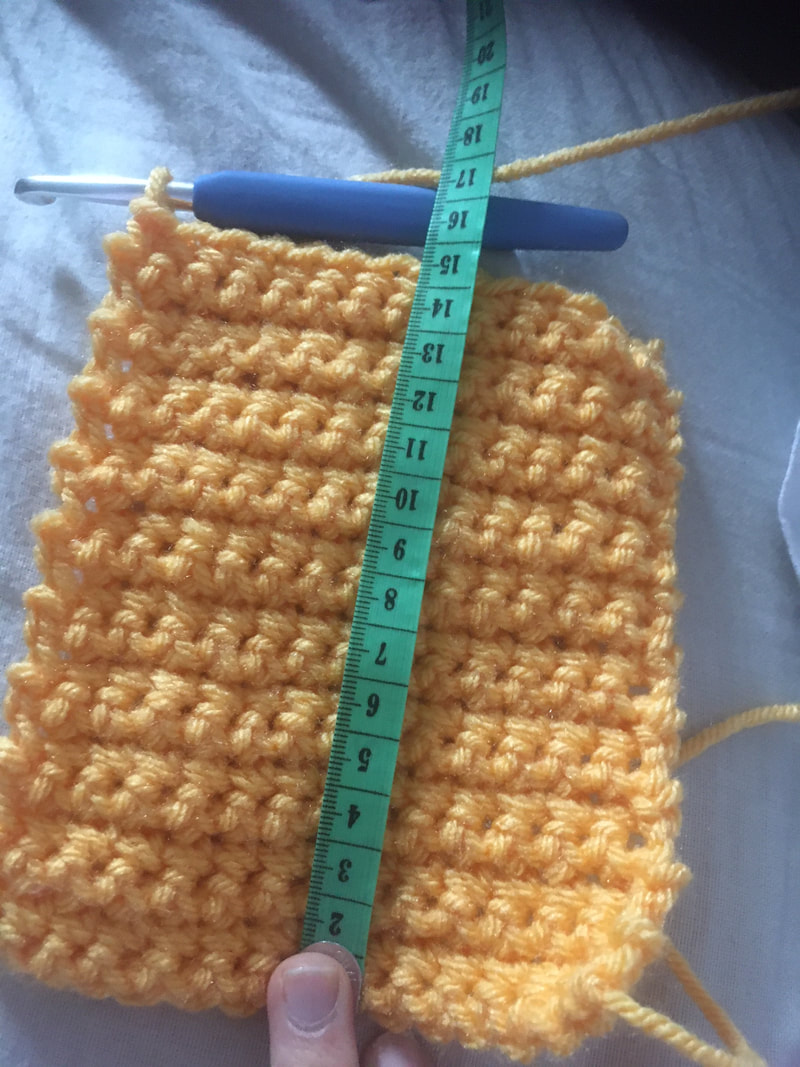
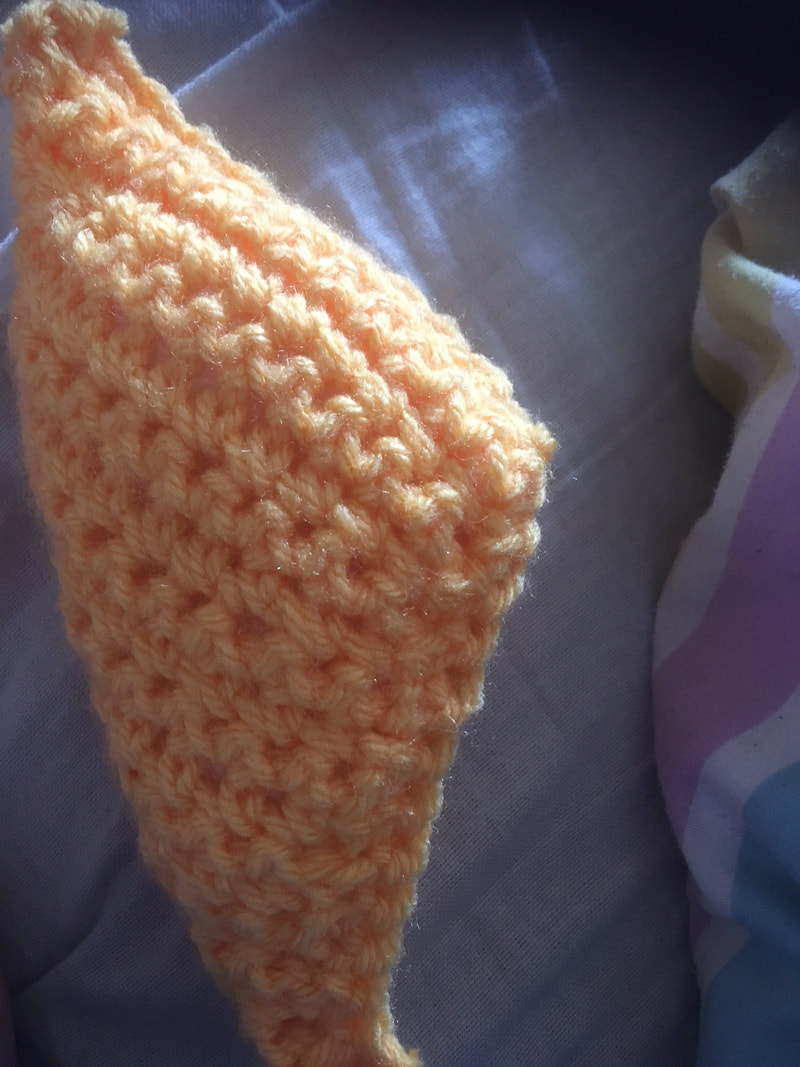
Reading a tension square is the exact same in knitting as it is in crochet. Below is a picture of the ball band I will be using (in my demonstration I am using Stylecraft Special Chunky in Saffron). This tells me that I will need a 6mm hook and will do 20 rows containing 14 stitches in order to create a 10cm by 10cm square, though yours may require to use a smaller hook and do more stitches and rows or a larger hook with fewer stitches and rows. First, I will be creating a chain of 14 "stitches." 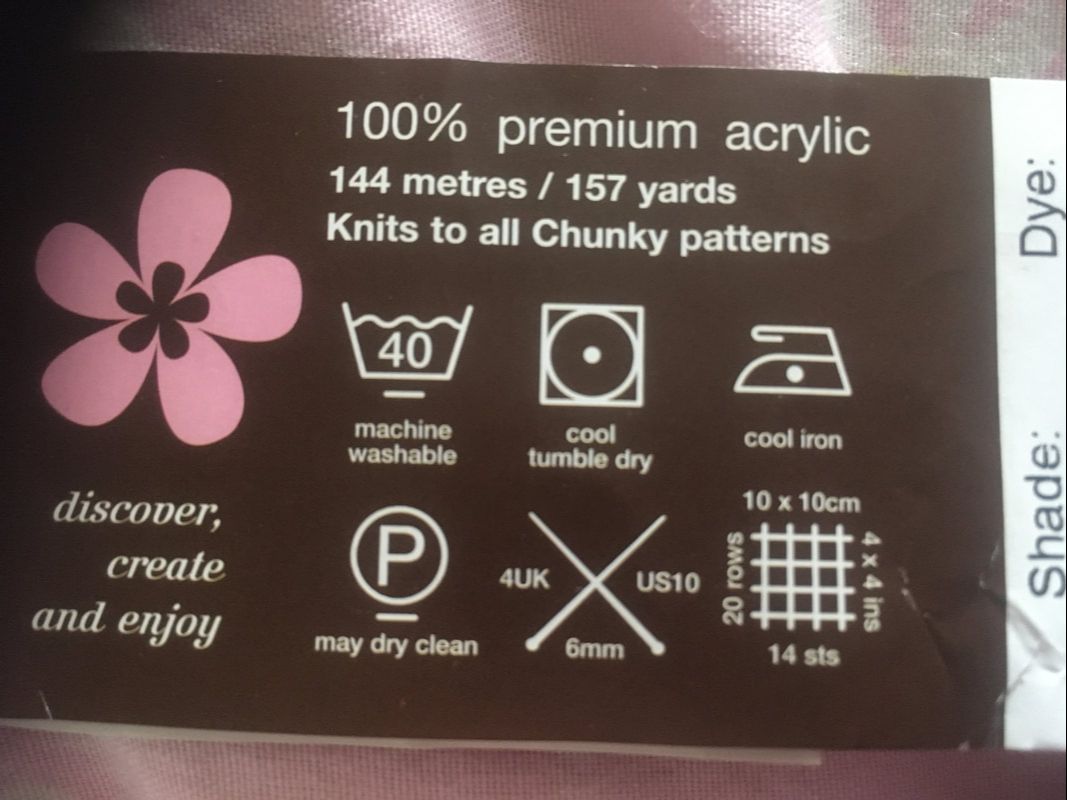 Step Two: The First ChainJust like in knitting, the first stitch in crochet is made by creating a slip knot. To do this, create a loop about 15-30cm away from the end of the yarn. Then, pull a loop through this and keep pulling until the knot is secure. Finally, place it on the hook and pull the two strands so that the loop fits around the hook securely but not too tightly. Then, to create the next stitch in your chain, hold the hook in your dominant hand (for me, this is my right), wrap a loop of yarn around it and pull the loop through your first stitch, allowing it to come off the hook and leaving just one new stitch on. Do this repeatedly until you have reach the number on the bottom of the tension square diagram of your ball band - in my case, that means repeating it 14 times in total. Once you have done that, you are ready to move on to the main rows. Step Three: The Main RowsUnlike in a knitted tension square, you only do one type of row, so once you have done this section once, go back to this heading and repeat again until you reach the number on the side of your tension square diagram (for me, that is 20 rows). First, do one extra chain. Then, put your hook through the chain closest to the hook (this can be a little fiddly at first and was very difficult to photograph but you should be going through two loops that are touching and that look a little bit like a section of a plait). Then, wrap a loop around the hook and pull this through the two loops you have just put on, leaving two stitches on your hook. After that, wrap another loop around your hook and pull it through the remaining two stitches. You should now just have one stitch on your hook again. Repeat this until you have got to the opposite end of the row, then turn it around, ready to repeat and start your next row. You may notice that at first, it is difficult as your chain my be curling quite a bit. This is normal but it should eventually straighten out a little after you have done a few more rows. Step Four: MeasuringMeasuring your crochet tension square works in the exact same way as measuring your knitted tension square; the measurements you need are the height and width. If both the height and width of the square are smaller than 10cm by about the same amount, it means your tension is tight. Experiment by making tension squares with a larger hook. Alternatively, having both measurements over 10cm by about the same amount indicates you have a loose tension, which can be resolved by reducing the hook size. However, it can sometimes be a little more complicated. If your width is fine but the height is too short or long, you may want to do more or less rows when you do the pattern. If the width is the problem, you could do a longer chain if it is too narrow or a shorter chain if it is too wide. In my case, both the measurements are too large but it is less wide than it is tall, so I would experiment by decreasing my hook size and possibly doing fewer rows. UsesIt is quite easy to make the mistake of thinking that tension squares are too small to be of any use; however, you can make some great things out of the tension squares that you make across your projects. As almost all tension squares are 10cm by 10cm, they are very versatile and can be used to make a range of things including:
Next time, I'll be going through some of the things you can learn to crochet once you get bored of joining squares - don't get me wrong, I absolutely love knitting and crochet but when you make things out of squares, you do end up sewing in a few billion ends!
Until then, happy crafting! Caiti
0 Comments
Leave a Reply. |
AuthorMy name is Sharon the Sheep, the owner of Avicraft Wool Shop in Bromley Kent.. Archives
February 2022
Categories |


 RSS Feed