Fingerless Mitten Knit-Along Part ThreeToday is the final day of the knit along, and we will be looking at how to shape the thumb hole and how to cast off. Shaping the Thumb HoleTo start with, you do the first row as normal, making sure that the end of the wool that is not attached to the ball is on the right side of the garment. When you have done that, turn it around but do not switch needles. Instead, do purls on the stitches you have just worked with (for instructions on how to purl, see the Fingerless Mitten Knit Along Part Two).  Then, after you have done that, switch the needles round and do purls on the inside of the unworked stitches, then turn the work and knit the stitches that you have just purled. Switch the needles and repeat this process 4-6 more times, depending on the size of you thumb. After you have done this, continue doing the stocking stitch as you were doing before for as long as you like, then a short rib to finish it off. Cast OffFirstly, you need to work two stitches in rib. Then, pull the one furthest from the end of the needle over the other stitch and off the needle. Then, do another stitch and pull the back stitch over and off. Repeat this process until there is only one stitch on the right needle and no stitches on the left. After this, slide the stitches that remain on the cable on the left needle and continue this process until you have one stitch left on the right needle. Then cut the end so that it is around 10cm long, then take the remaining stitch and pull the end through. 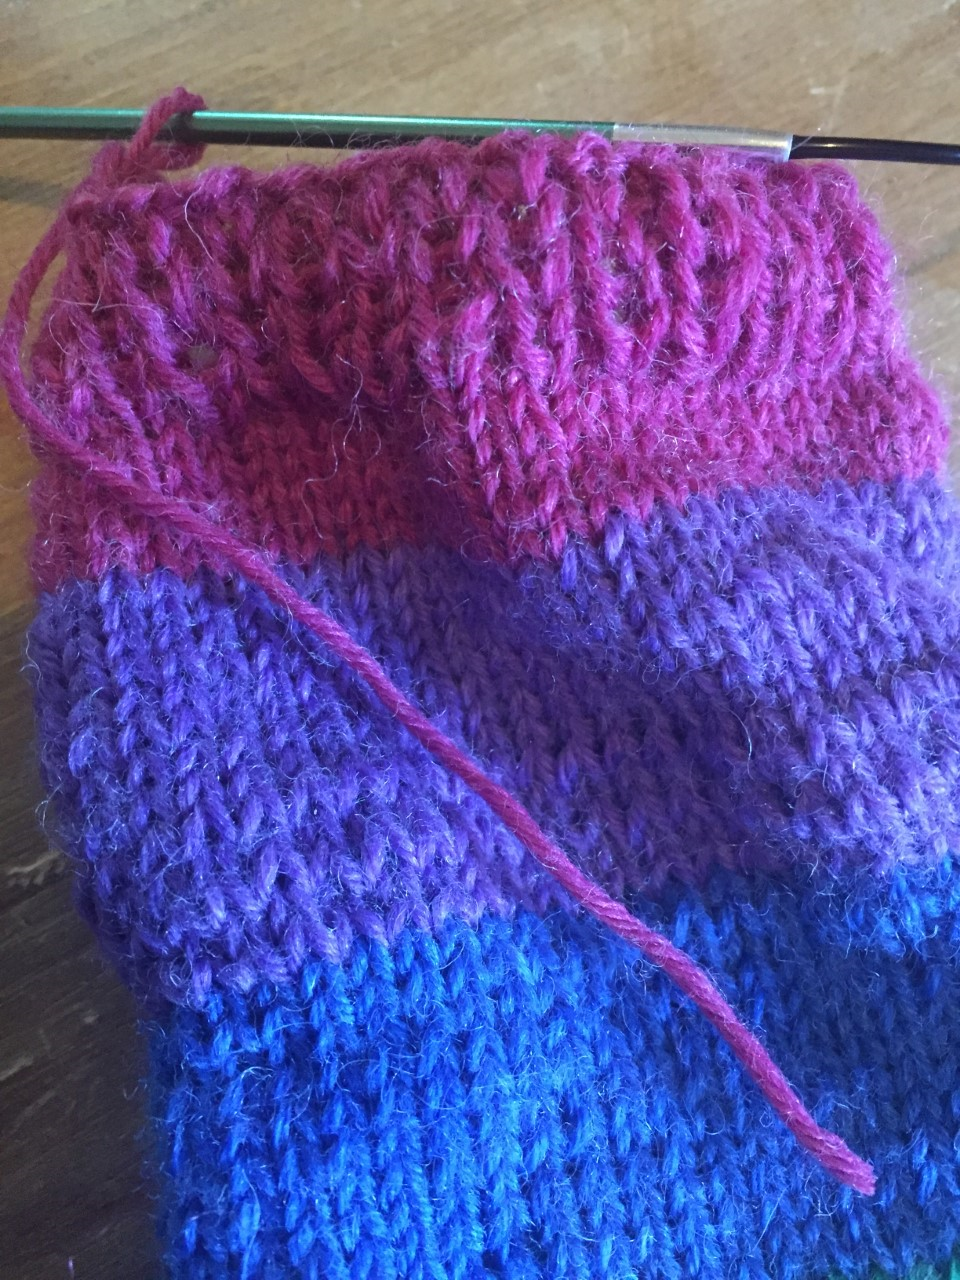 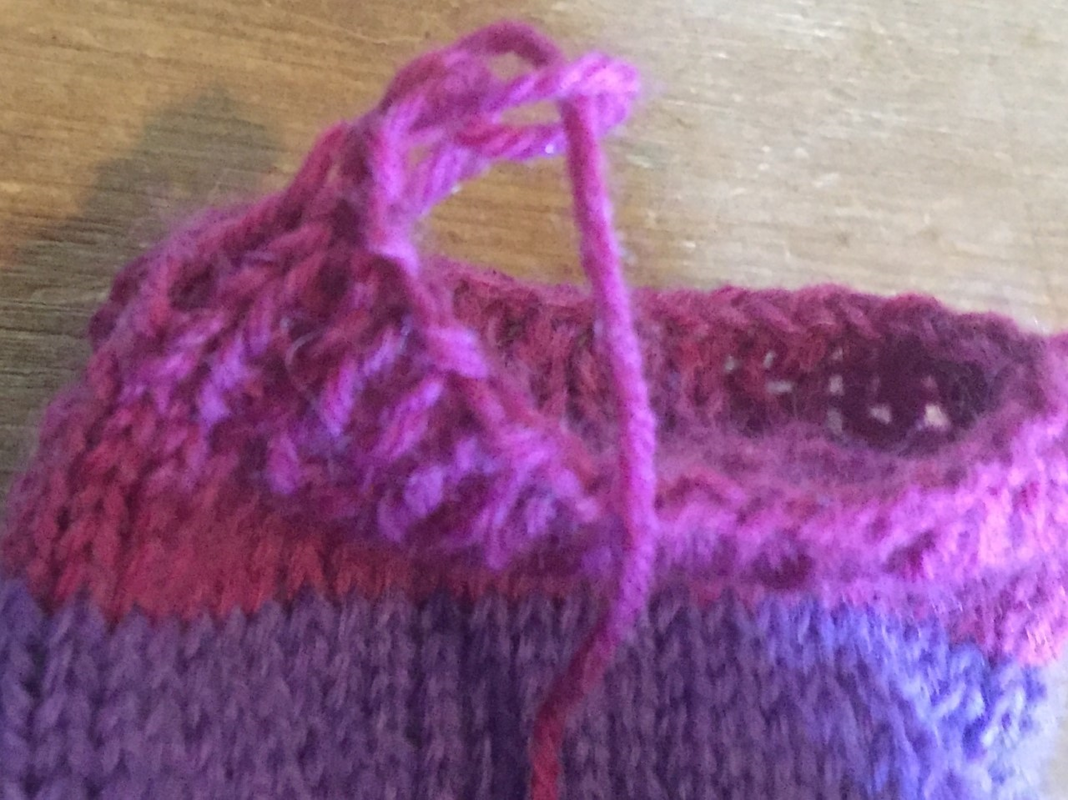 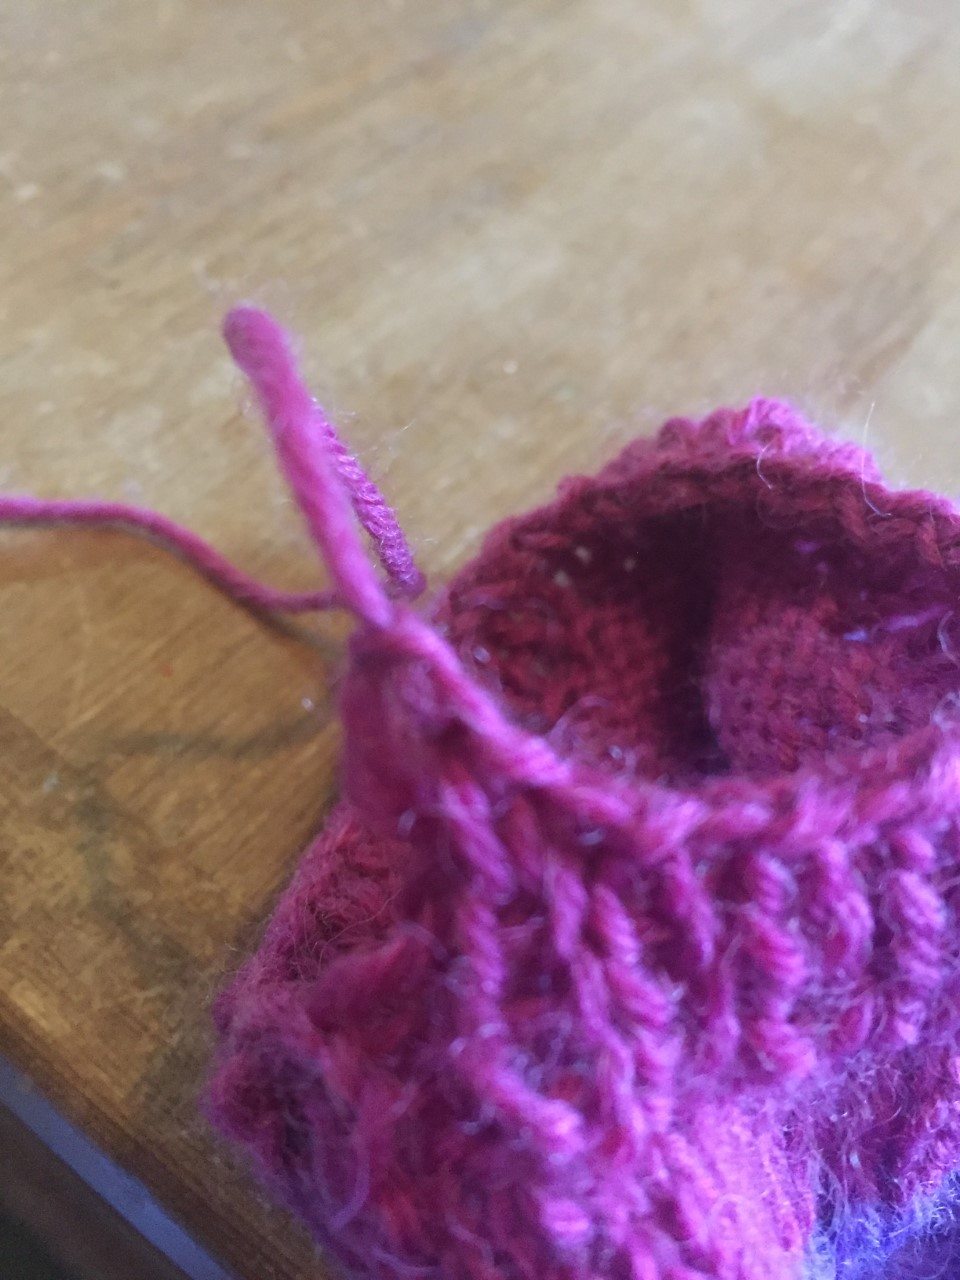 If you have any problems, let me know in the comments. Otherwise, well done! That's your first mitten completed. The second one follows the exact same pattern. Here is how mine went: 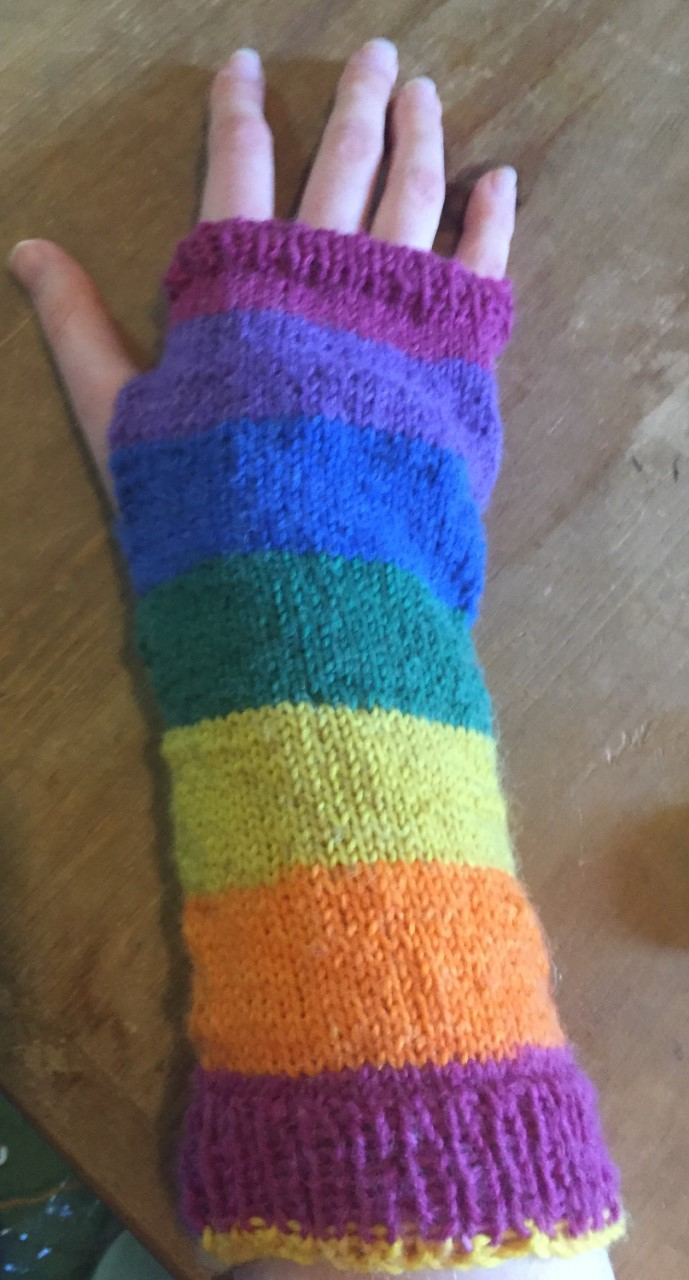 How did yours all go? Send them in via social media, using @avicraftwool for Instagram or @avicraftwoolbromley for FaceBook.
Happy knitting! Caiti
0 Comments
Leave a Reply. |
AuthorMy name is Sharon the Sheep, the owner of Avicraft Wool Shop in Bromley Kent.. Archives
February 2022
Categories |
 RSS Feed