A Variation To the Mitten Pattern (Part Two)Today will be the last day of the mitten knit-along (and this time I really mean it). We will start by looking at stocking stitch before casting it off and sewing it up. Final Bits of Knitting.Once you have completed the rib, you do the main part of the mitten in a stitch called stocking stitch. This is relatively straightforward as it uses stitches which we have looked at before, but a slightly different arrangement - instead of alternating between one knit stitch and one purl stitch across the row, you do a whole row of knit stitches for your first row and every other odd numbered row and a whole row of purl stitches for your second row and every other even numbered row. This creates the pattern shown below: Front  Back 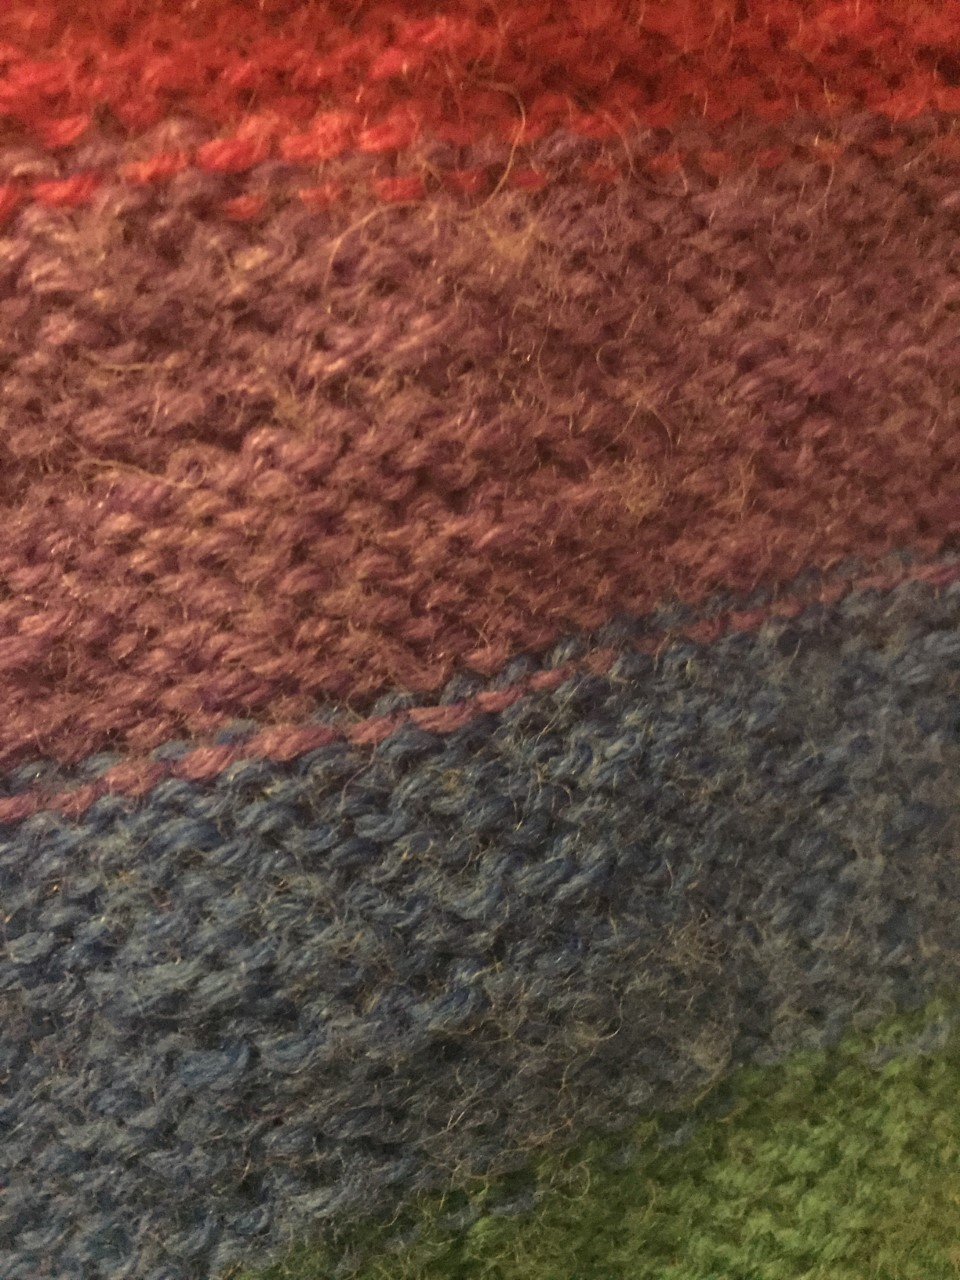 You can do as many rows of this as you like, so long as you keep track of it. I did fifty-eight rows. Once you have done this, do a short rib to finish. Cast OffTo cast off, you start by doing the first two stiches of the row in the knit pattern. 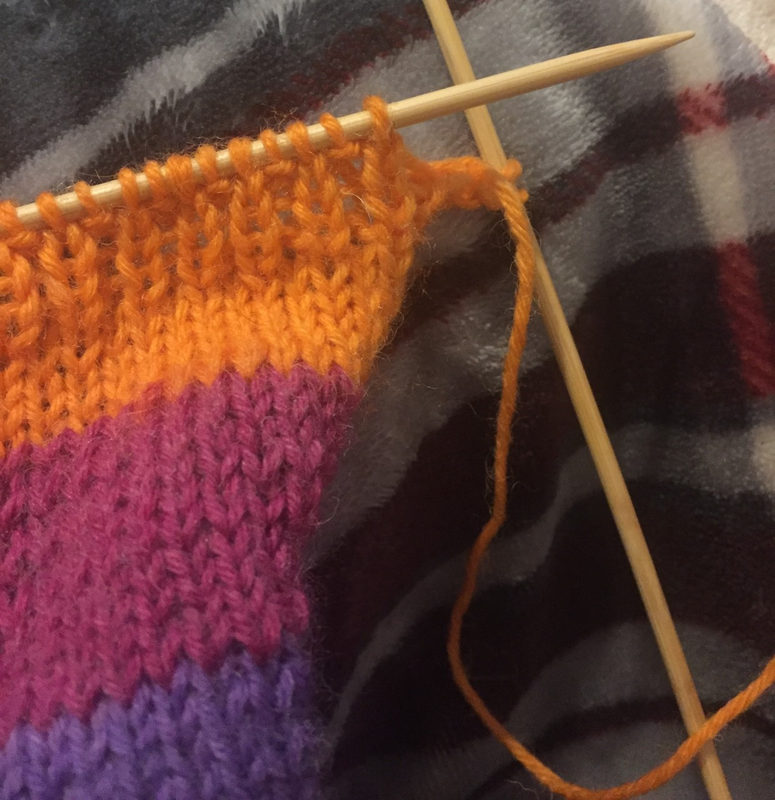 Then, pull the stitch on the right needle (or left needle if you are left handed) that is furthest from the end of the needle over the other stitch and off. 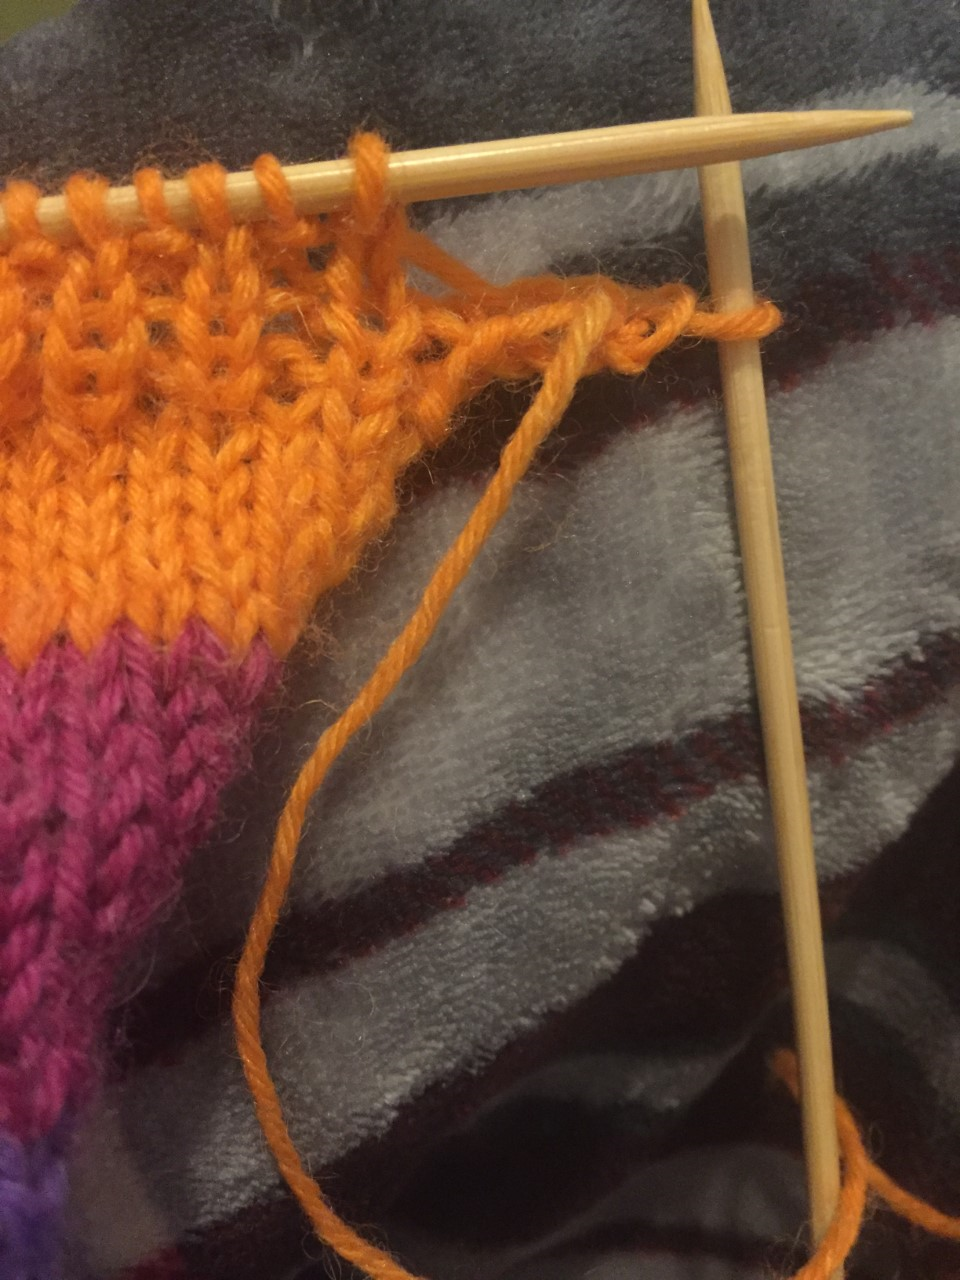 After you have done that, knit the next stitch and repeat the last step. Keep doing this until you have just one stitch left in your writing hand. 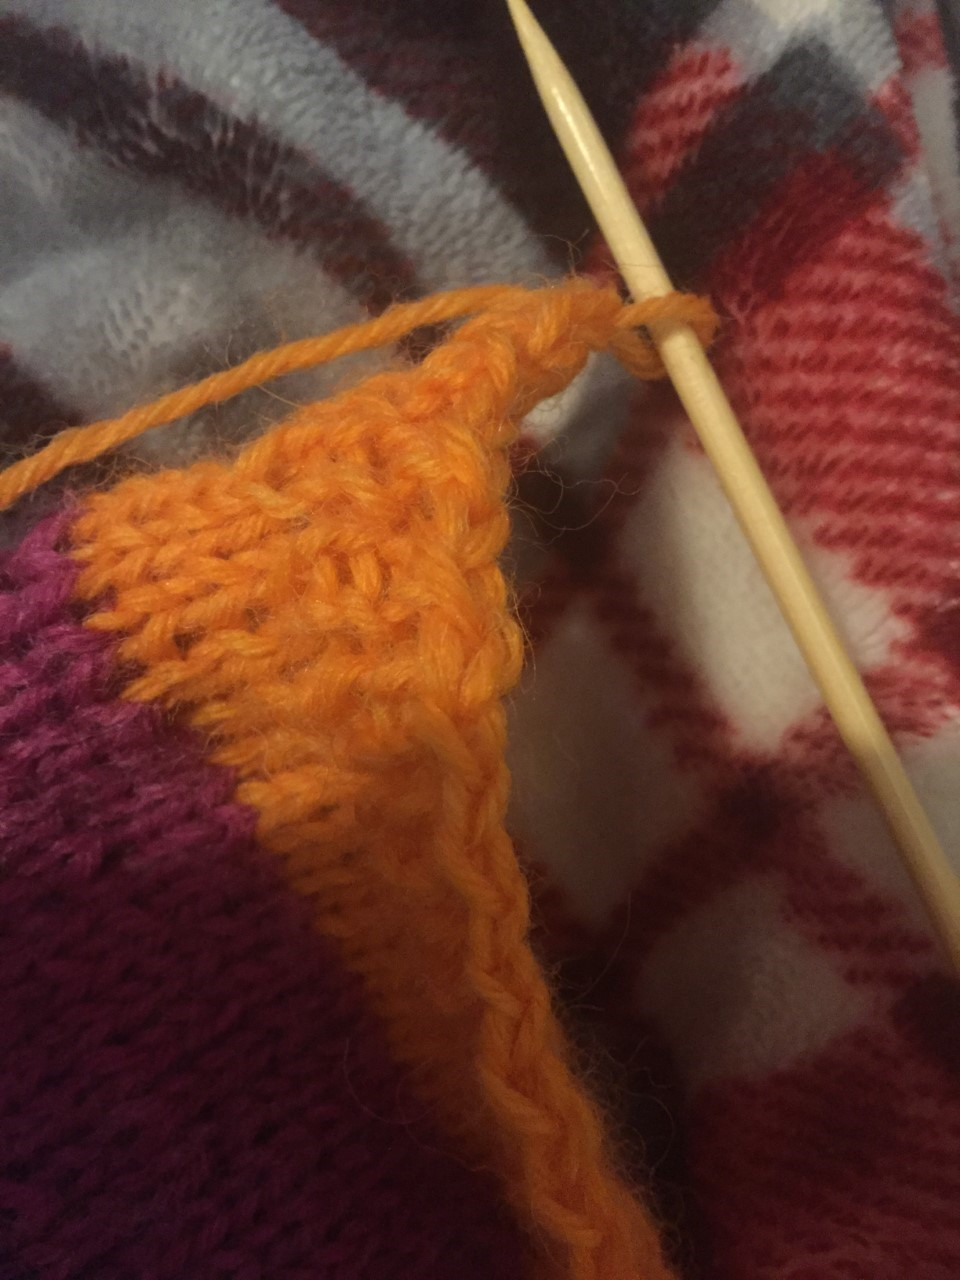 Now, cut the ball of wool off, leaving an end that a couple inches longer than the mitten. Take the final stitch off of the needle and thread this end through it tightly, forming a small knot. 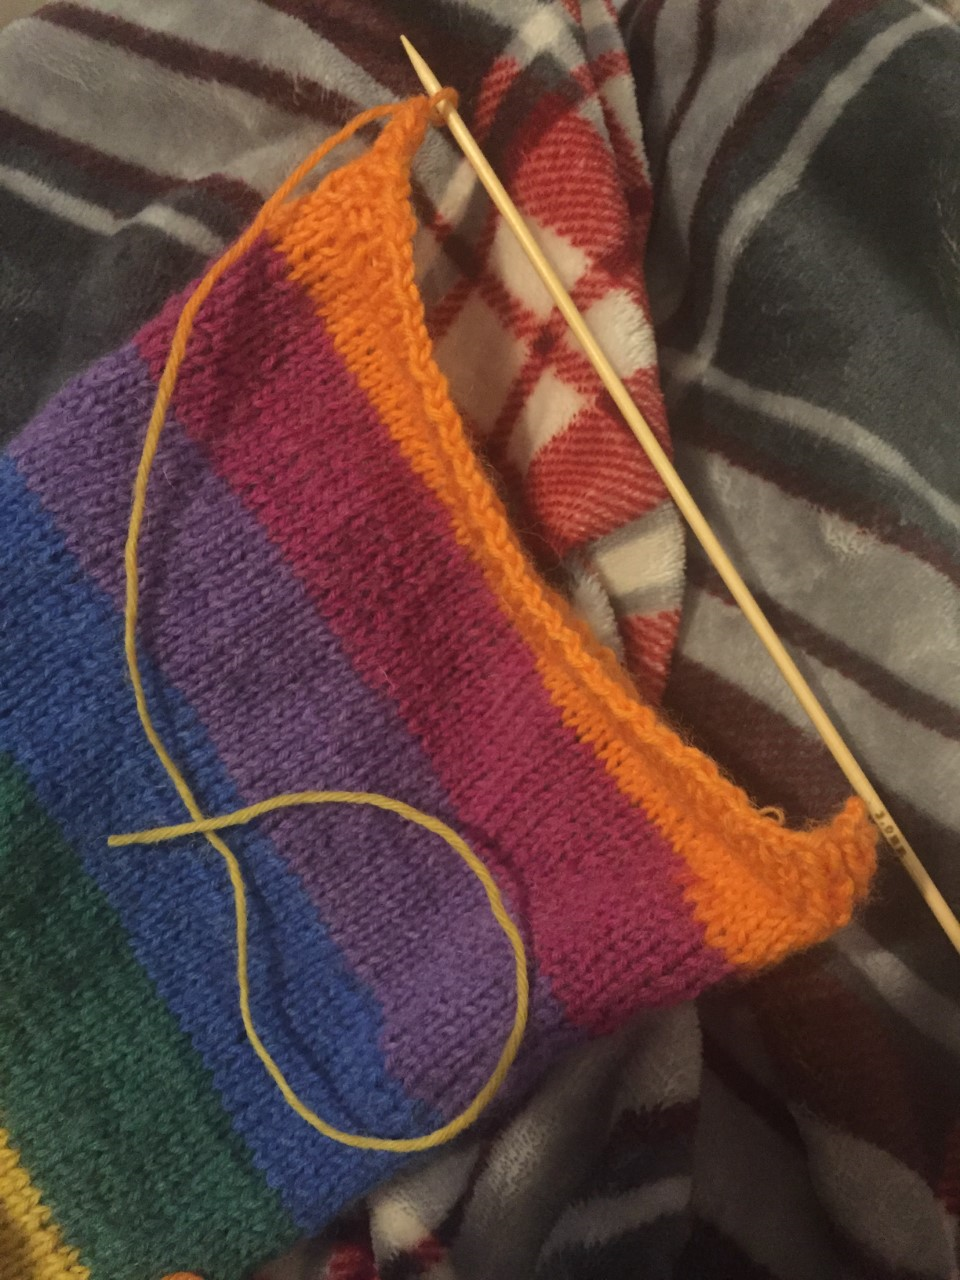 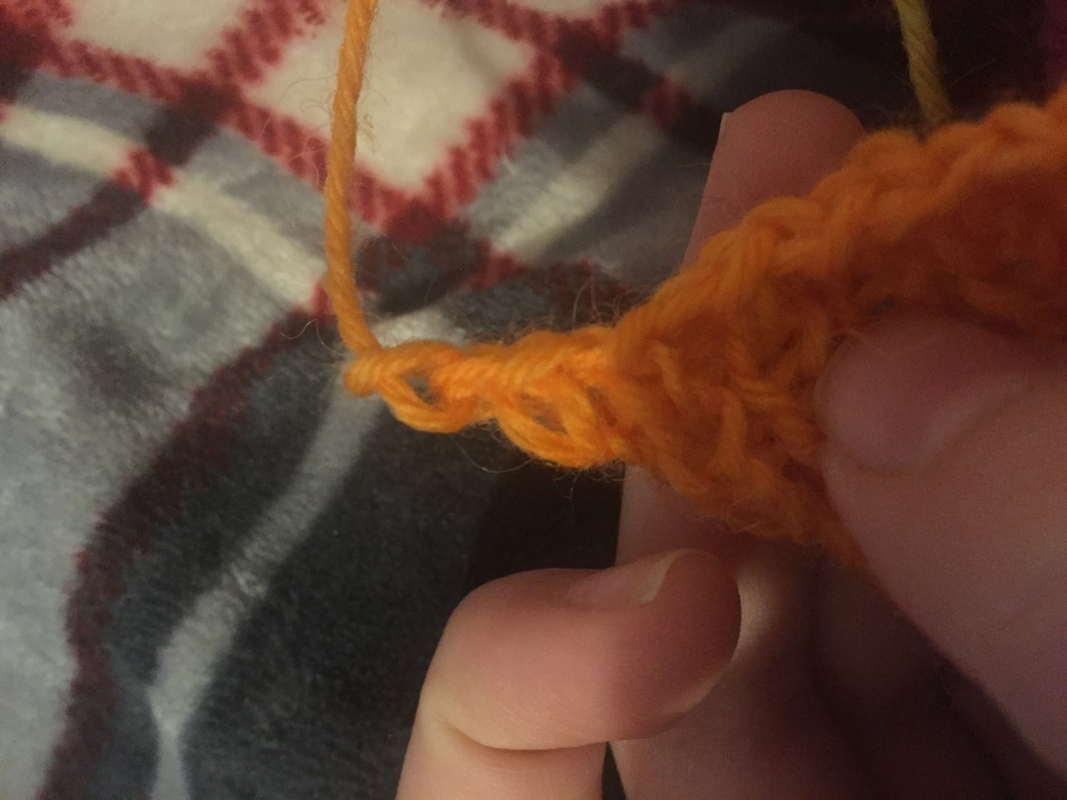 All that's left to do now is to sew it up! Sewing UpWe will be using the end that you left from casting off to sew it up. To start, hold the knitting as shown below and put the yarn through one stitch on the other side and pull it tight. 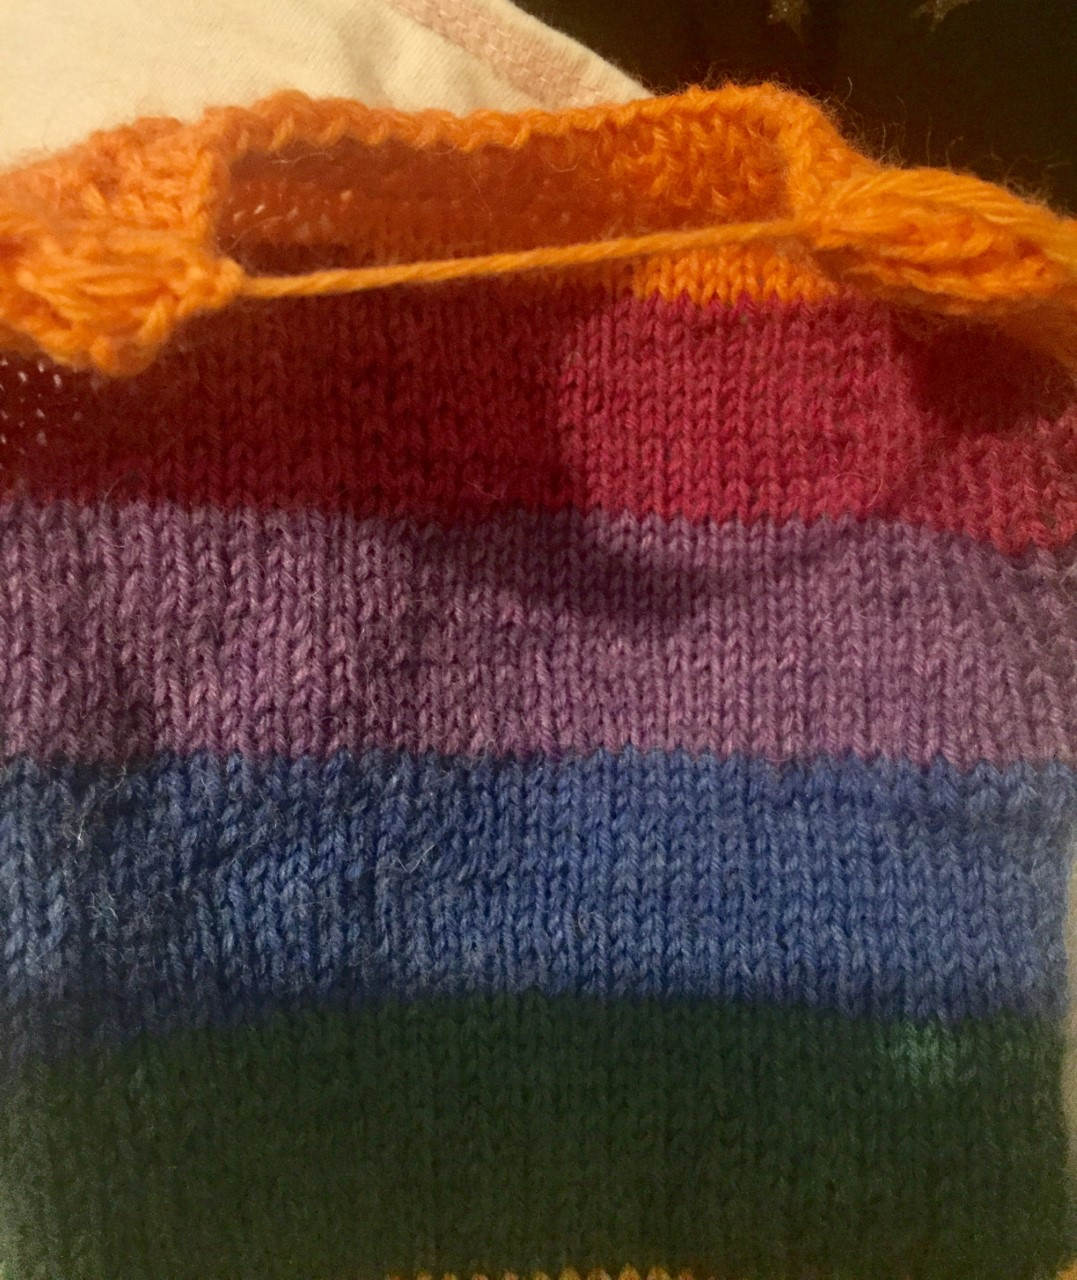 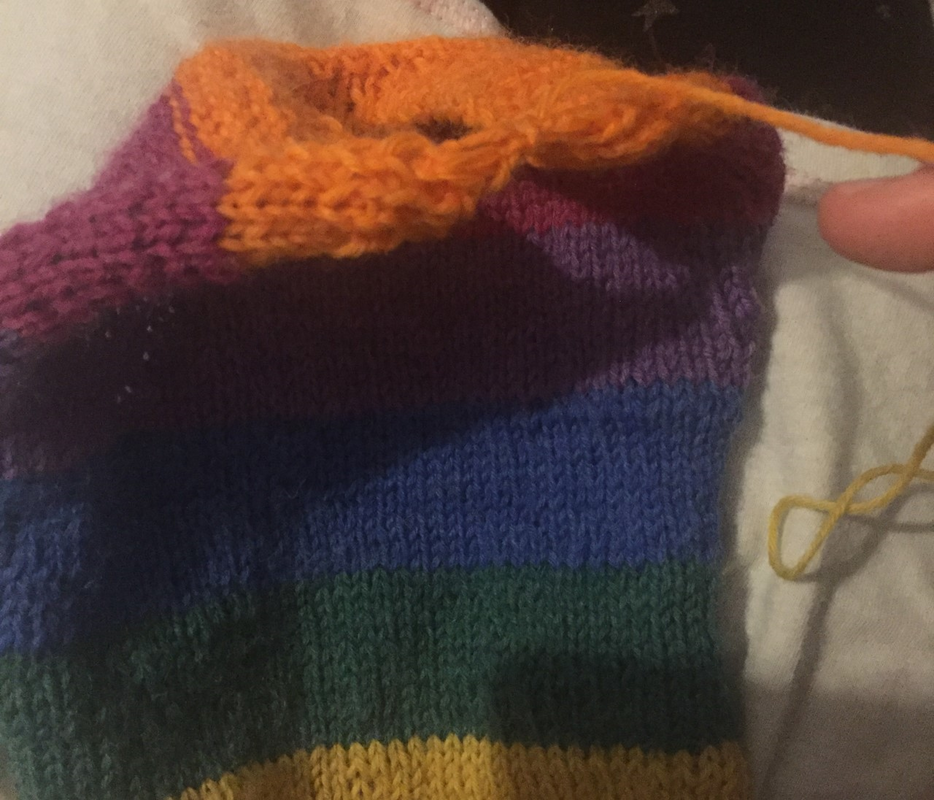 This causes it to fold with the back on the outside To secure it, go over it again. This is called a double stitch. 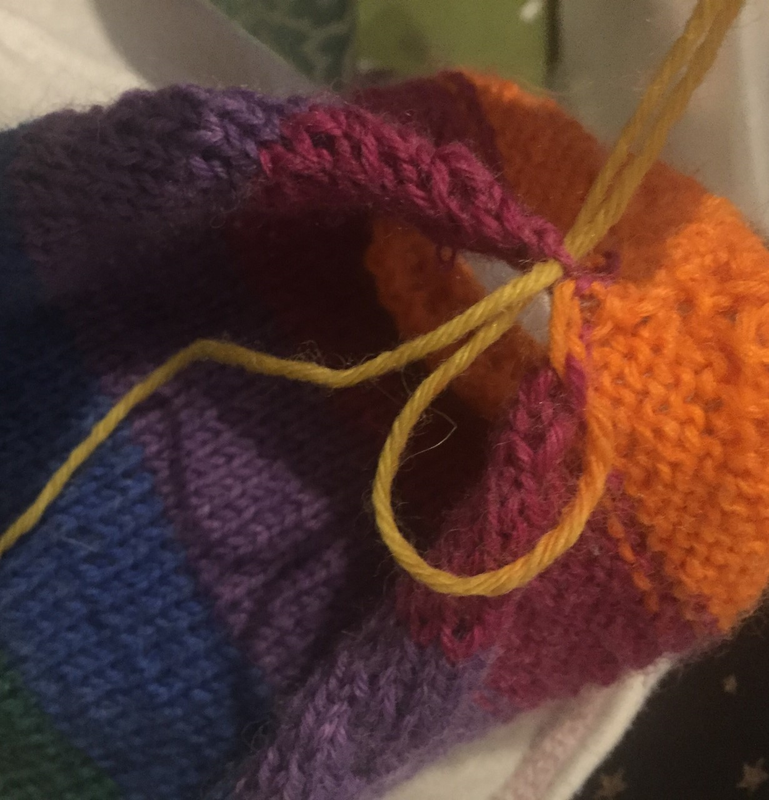 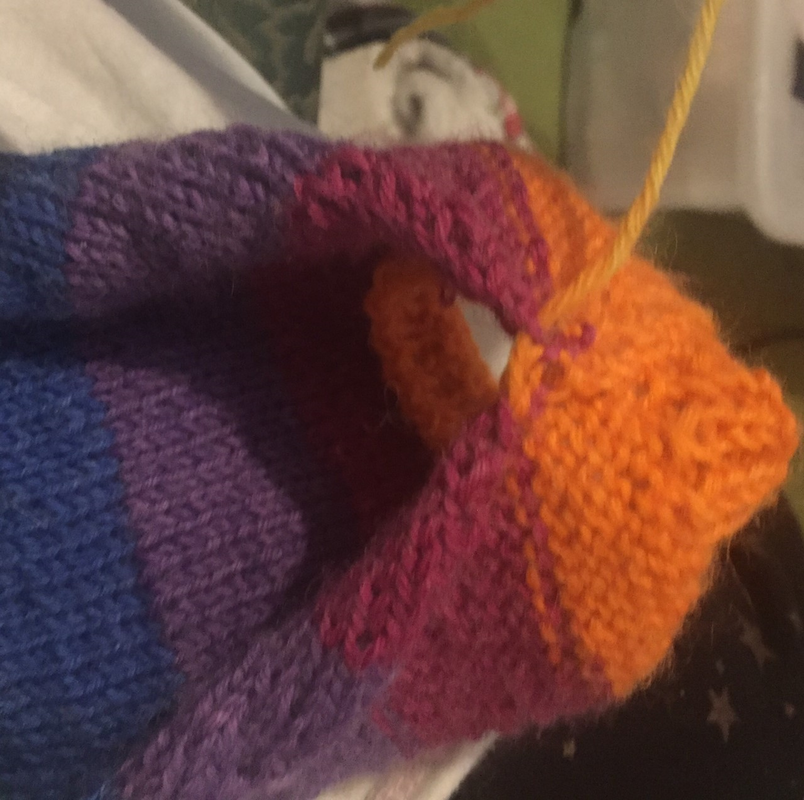 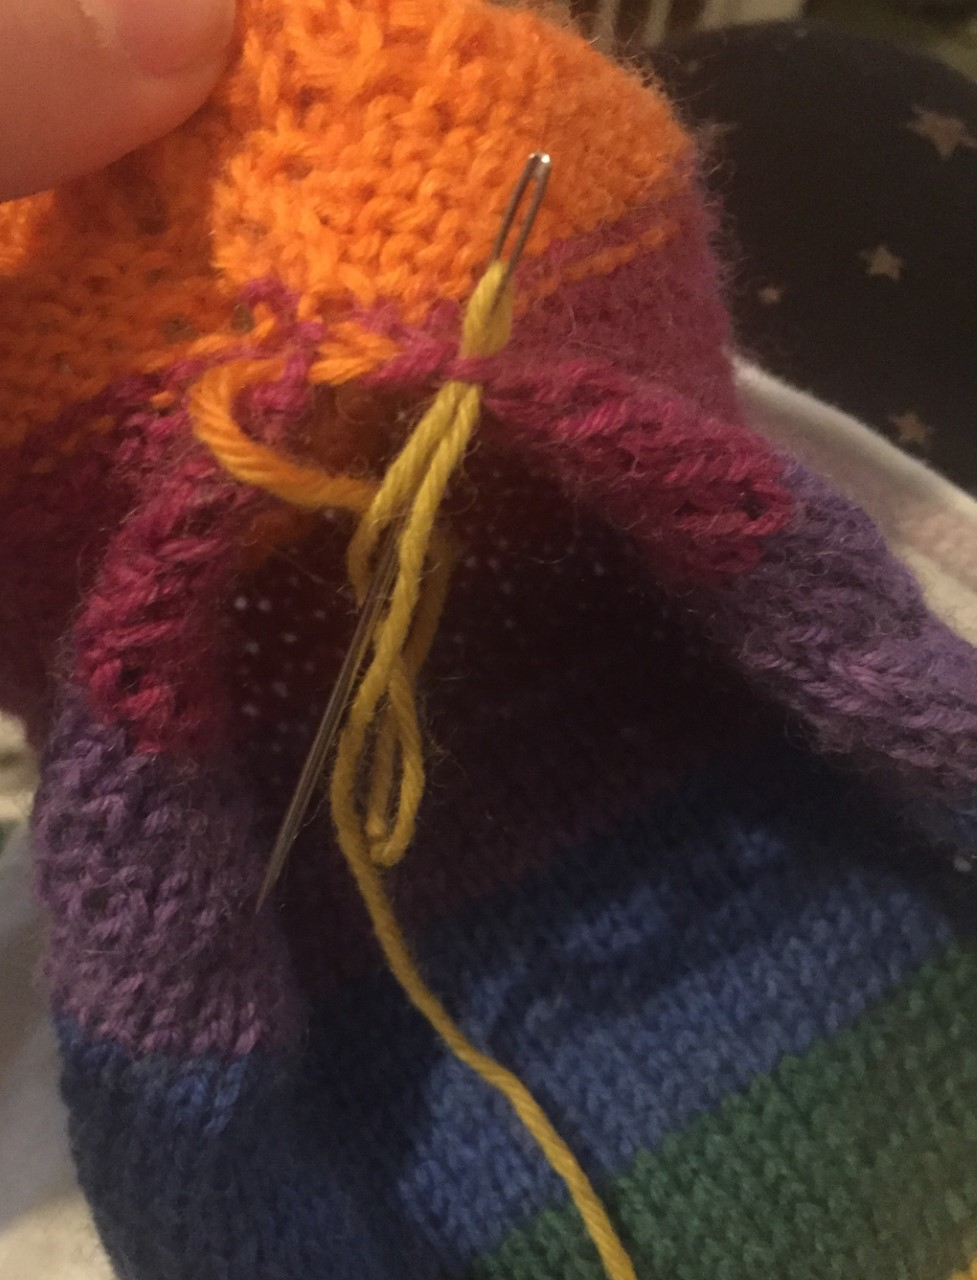 Then, sew below as normal. Keep doing this until the seam is a similar length to the seam in the image below. 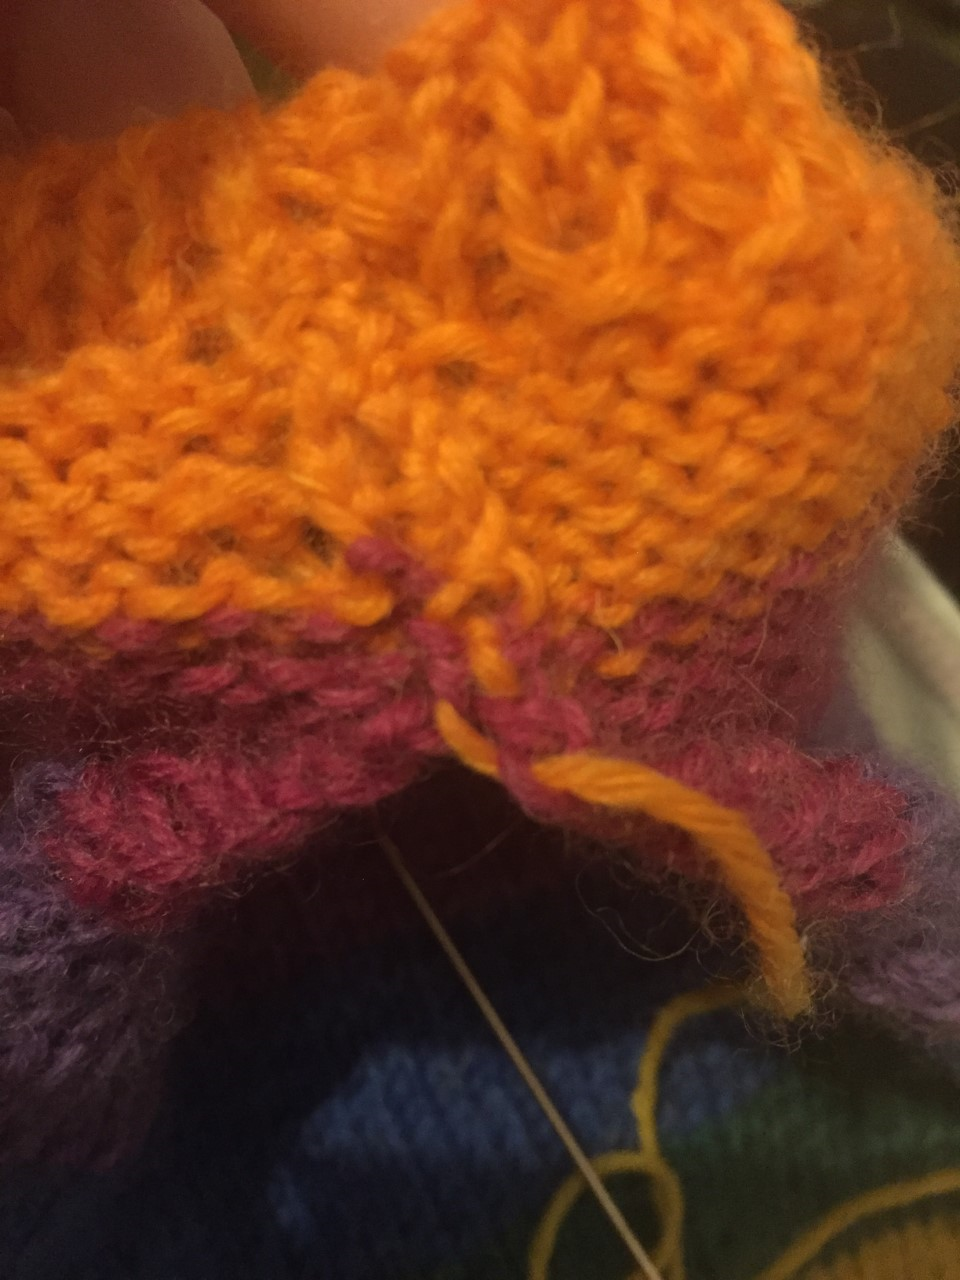 *Do not worry if your seam looks chunky or wonky. Mine certainly did! Fortunately, you will be turning it in the other way later and people will not be able to see it. When you get to this point, weave the yarn through on one side until the length of the weaved section is just a little more than the thickness of your thumb. 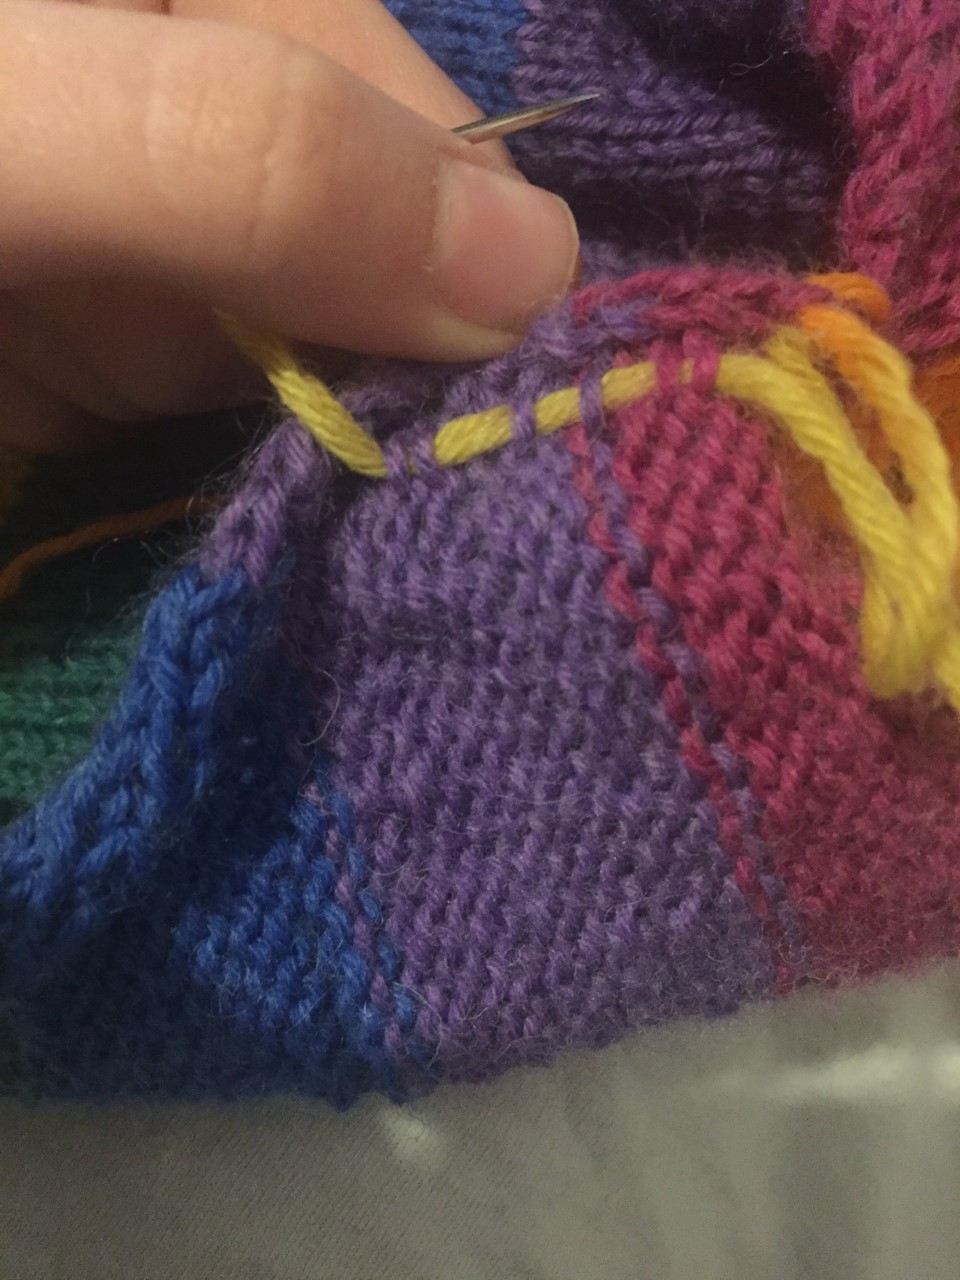 Once you have done that, continue sewing as you did before with a double stitch to start.  When you get to the end, pull the needle through the final stitch to form a knot. 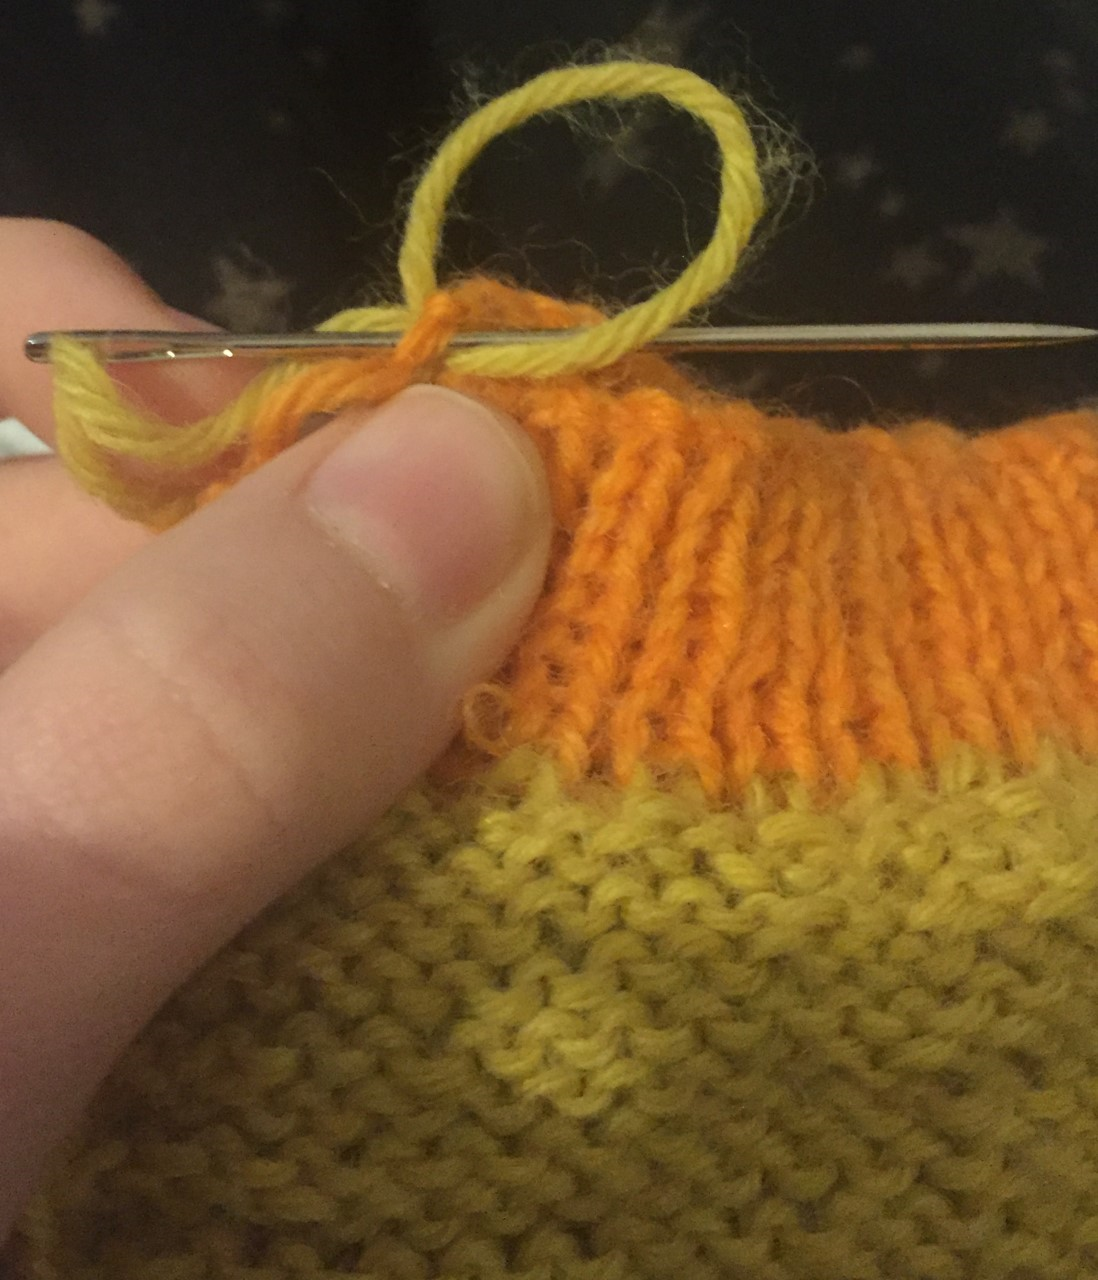 For extra security, do a double knot with the two ends before trimming them. 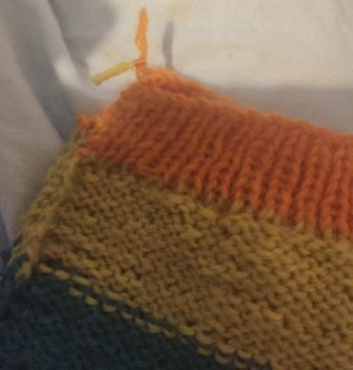 Finally, turn it in the other way and voilà! You have a mitten. Everyone's will vary, but here is mine for guidance. Don't worry if your stitches aren't quite perfect or if you can see the seam in places - that is completely normal! Practice makes perfect. 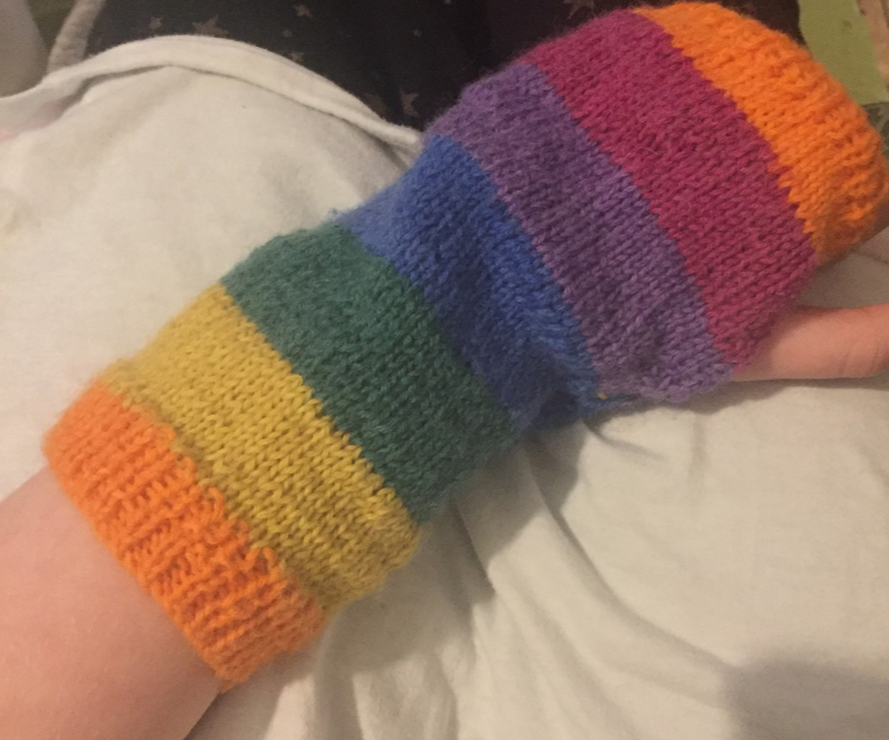 How do yours look? Don't forget to post your knitting on social media and tag us @avicraftwool on FaceBook or Instagram.
Until next time... … Happy knitting! Caiti
0 Comments
Leave a Reply. |
AuthorMy name is Sharon the Sheep, the owner of Avicraft Wool Shop in Bromley Kent.. Archives
February 2022
Categories |
 RSS Feed